
DIY hand sanitizer bottle holders
I think I must be a germaphobic.
Actually, it comes from being around a lot of little children and being sick constantly as a child, myself. I just don’t want to get sick – even a common cold – because it goes around the house like an epidemic, and then we’re sick for two weeks, and who really likes that? Washing our hands before we ate seemed to do some good, but there just isn’t a hand-washing station out in the wilderness every time we want to have a snack. So when hand sanitizer came out on the market, we fell in love with it immediately.
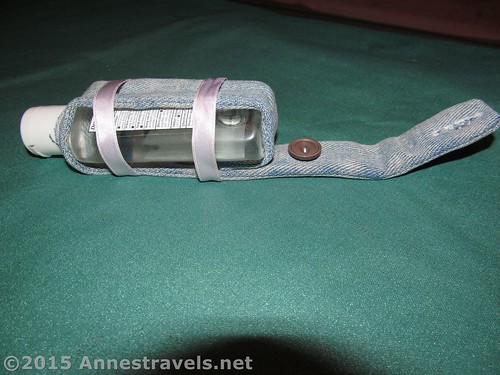
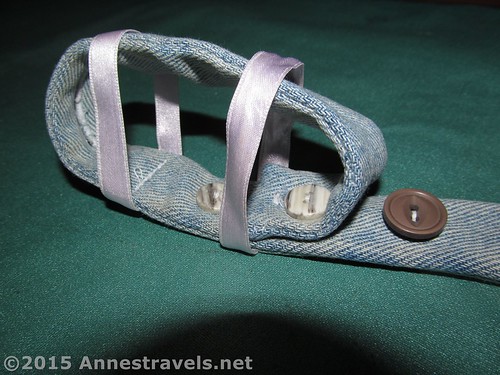
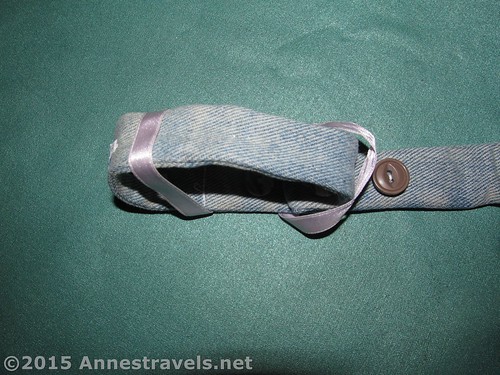
Side view of one of the holders. The right flap flips down and buttons around a strap, belt loop, etc.
So the other day, I thought I’d make up some hand sanitizer holders so everyone could easily carry their own bottle with them when we’re out and about. Because, it’s not only good for the trail – when we could just put them in our backpacks – but also when we’re at meetings, stores, potlucks, etc.
You can make these out of just about anything. I chose to be green, cheap, & utilitarian and use some old, holey jeans I had lying around, but it would be really cute with some pretty canvas or cotton (if you use cotton or any light fabric, you’ll want to fuse a 14 in. x 1.5 in. piece of interfacing to the wrong side of the fabric before you sew the two pieces together).
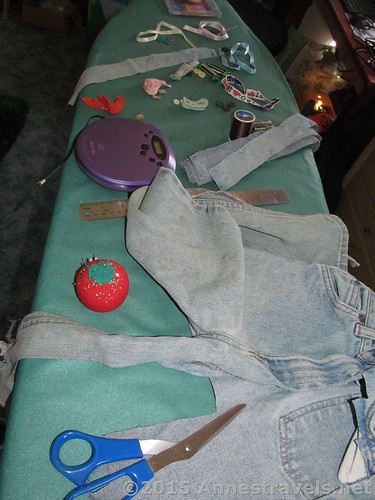
My work area – guess I should be a little neater while I’m sewing 🙂
I made it adjustable for the different bottles of hand sanitizer we usually carry around – some old Purell bottles (measures 2.75 in tall without the lid and about 1 in. x 2 7/8 in. wide) and a Berkley and Jensen (BJ’s brand) bottle (measures 3.5 in. tall without the lid and 1 in. x 1.75 in. wide). Please feel free to adjust this pattern to your specific bottles – several bottles I hadn’t even tested (Germ-X and some promotional sample bottles) worked great in the smaller setting!
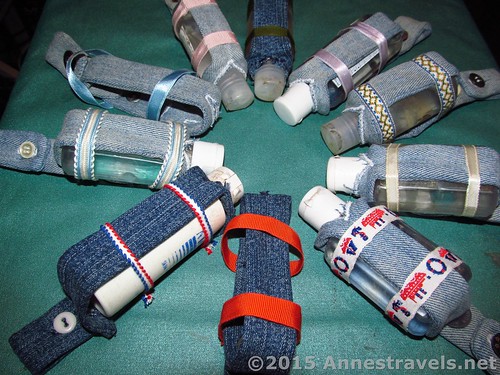
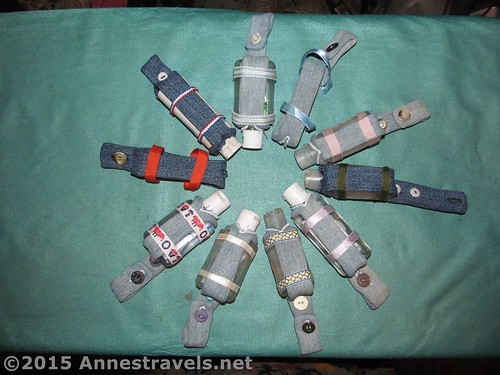
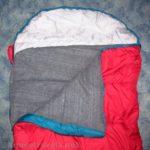
The finished hand sanitizer holders
You’ll only need basic sewing skills (and patience with making button holes) for this. I recommend using a sewing machine, but I suppose you could probably hand sew it if you wanted to.
Supplies to Make a Hand Sanitizer Holder
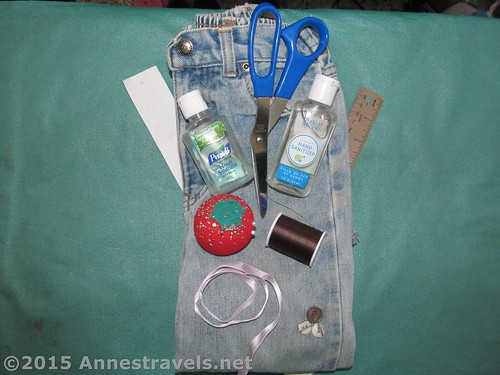
Materials to make your own adjustable hand sanitizer bottle holder
Fabric scraps or old blue jeans – just make sure it’s 14 in. long and 3 in. wide (or 28 in. long and 1.5 in. wide)
Thread to match the fabric
3 buttons, at least ½ in. wide (two must be the same size; the third can be bigger or smaller – if you’re not making it adjustable, you can use two buttons and they can be different sizes)
2 pieces of ribbon, 6.5 in. each
Sewing machine
Scissors (seam ripper helpful to cut buttonholes, but not required)
Hand sewing needle
Note: All seam allowances 0.25 in. and worked into the pattern unless otherwise noted.
If you like a pattern (like I do), cut a piece of paper to 14 in. x 1.5 in.
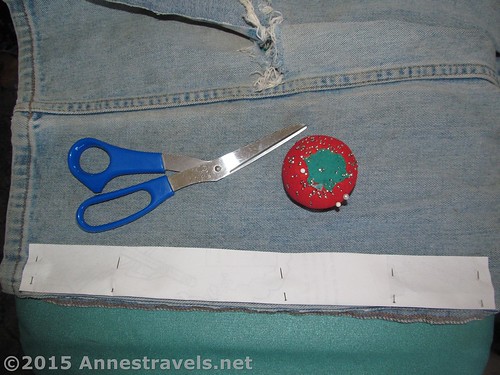
The pattern, pinned to the jeans (I cut open the leg – notice the hole in the knee?)
Cut two rectangles of fabric, 14 in. x 1.5 in.
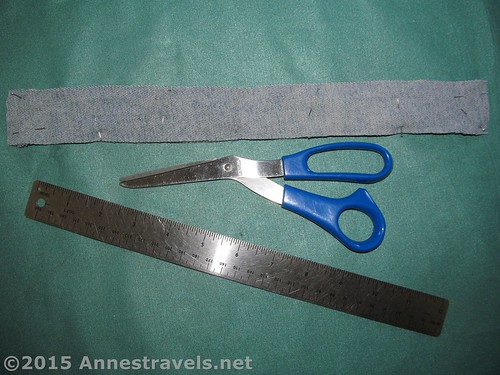
Cut and pinned!
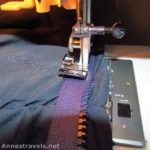
Pin rectangles together, right sides together, and stitch on three sides (two long sides and one short side).
Stitched – should have used a brighter / darker color so you can see it, but FIY it’s stitched on three sides
Clip off the excess seam allowance in the two corners – this will only add bulk to the finished product.
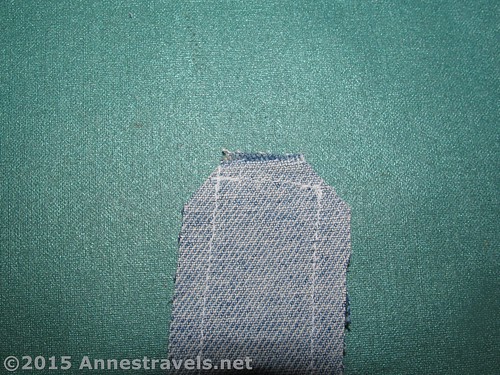
Clipped corners
Turn right side out (a dowel, chop stick, or the handle of wooden spoon may be helpful for this). Honestly, this is the most difficult part of this tutorial, and certainly the most time-consuming.
Turn the unsewn ends inside the tube of fabric and hand-stitch in place.
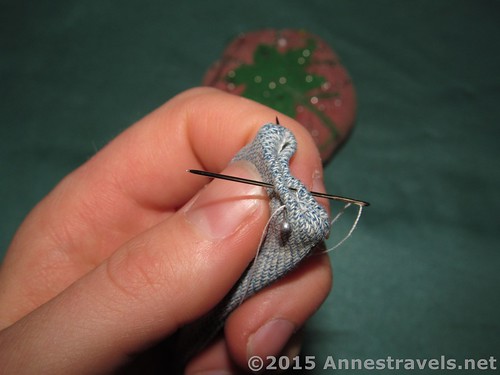
Hand sewing the end
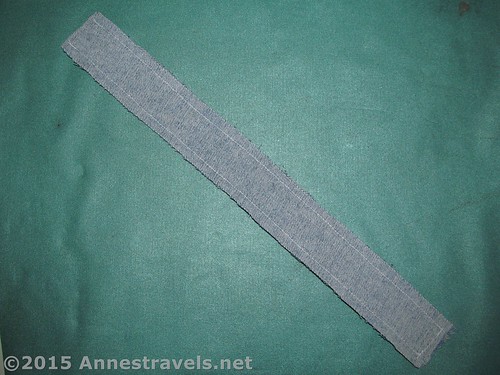
Press flat. If desired, topstitch along all four sides. I did not do this because of the bulk of the jeans (I’m not sure my sewing machine could handle it), but topstitching would give it a more finished, professional look.
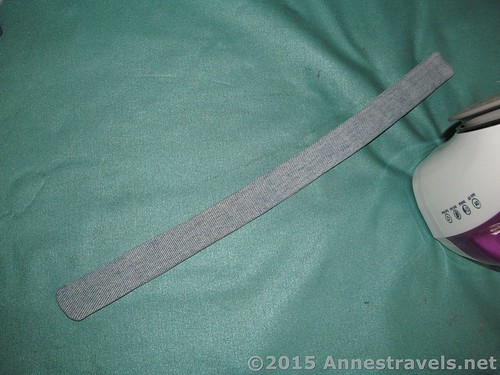
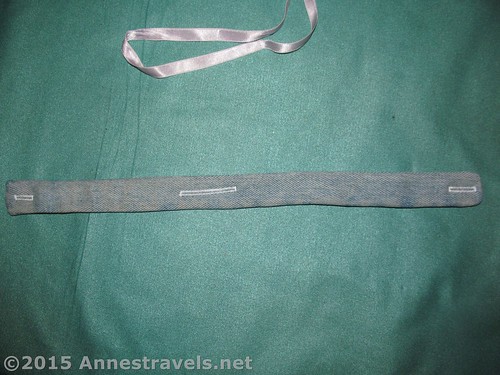
Ironed tube – it’s ok if it’s not entirely straight
Using a sewing machine, make button holes on both ends of the tube of cloth. If your buttons are different sizes, be sure to make one button hole the size of the smaller button and one the size of the larger button.
Note: in this section I will use the larger button hole as an example; if your two buttons are smaller than your one button, measure from the end with the smaller button hole; if all of your buttons are the same size, simply choose one end and always measure from that end.
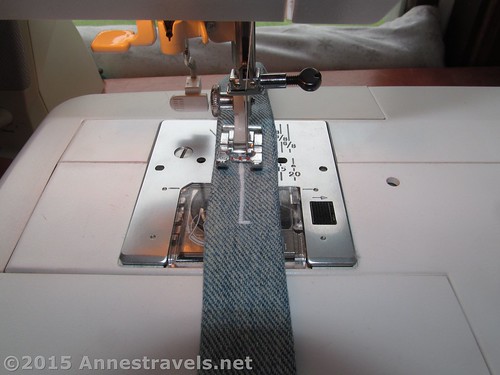
Making the long button hole
Measure up 5.25 in. from the end of the fabric tube with the larger button hole. Mark this point. Measure 1.5 in. from this mark and make another mark here. Make a very long button hole between these two marks. I do this using the manual buttonhole setting on my sewing machine. If your sewing machine can’t handle this, you can either make two lines of a tight zigzag between the marks, sewing several times across the ends, or you can make a button hole by hand (the internet is full of tutorials for this!)
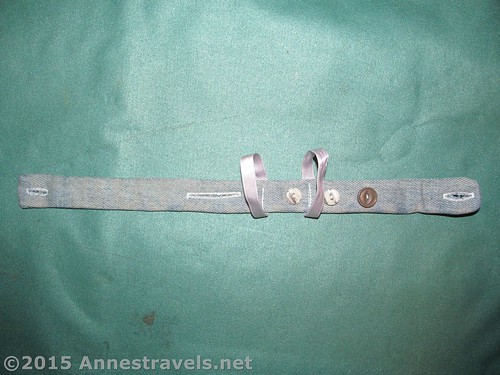
The finished three button holes
Sew one of the larger buttons 8.5 in. from the larger-buttonhole-end of the tube; the second larger button 1 1/8 in. above this; and the third button an inch above that (at 10 1/8 in. and 11 1/8 in. from the end of the cloth). Now cut the button holes, being careful to only cut them big enough for the button to slide through with a little difficulty – they will become bigger with age, and it’s easier to make a button hole bigger than to make it smaller!
Cut the long button hole big enough for the top of the hand sanitizer bottle to fit through.
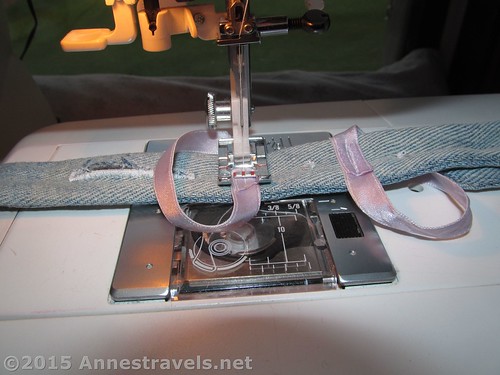
Sewing the ribbon
Cut two pieces of ribbon, each 6 ½ in. long. Now snip the corner off each end, so that the ends are angled – this will help prevent fraying. Fit the hand sanitizer bottle into the holder, and button it closed (if it isn’t working, button the button, then slide the bottle into place; see below). Fit one piece of ribbon around the entire holder just above where the lowest button attaches to the holder. Pin in place. Fit the second piece of ribbon around the entire holder about 1 ½ in. below the first piece of ribbon, and pin in place. Remove the bottle and stitch the ribbon into place just on this back side of the holder. This leaves the ribbons on the front of the holder free to move a bit – which means it will be easier to get the hand sanitizer bottle into place.
The finished product!
To fit the hand sanitizer bottle into the holder, make sure the holder is inside the ribbons…

First step – pull the small button hole end through the ribbons
And button the proper button.
Second step – button the proper button. Here I’m using the larger bottle, so I button it to the top button.
Flip the upper ribbon over the top of bottle so it is no longer doing anything useful.
Third step – flip the upper ribbon out of the way
Then slide the bottle into the holder, and the neck through the large buttonhole.
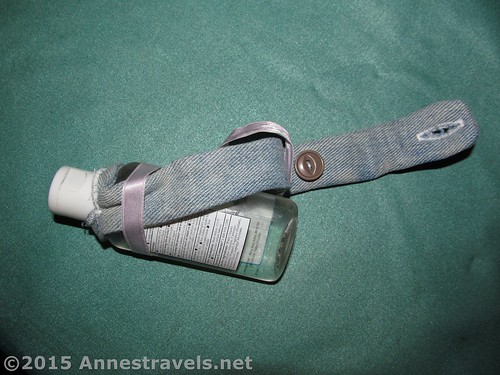
Fourth step – slide the bottle into the holder with the neck of the bottle through the large button hole
Slide the bottle bottom into the holder…
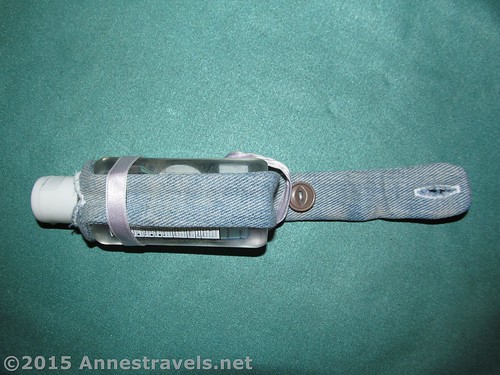
Fifth step – slide the bottle base into the holder
And bring the ribbon loop back down round the bottle.
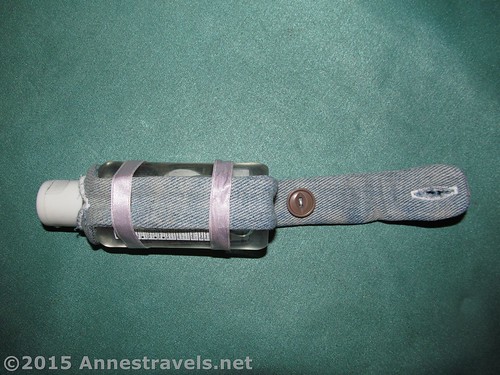
Sixth step – slide the ribbon back up and over the base of the bottle
Button the small button hole onto the small button around whatever object you want!
Here I’ve attached it to the belt loop of my jeans!
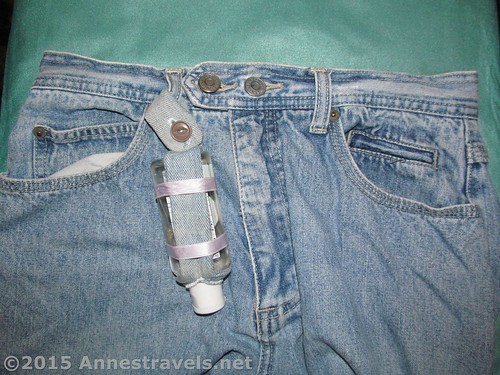
Hand sanitizer bottle holder attached to the belt loop of some (not holey) jeans!
And you have a hand sanitizer bottle holder!
Do you use hand sanitizer on the trail or around town?
This Week’s Featured Product!
Tutorial just too complicated? Buy a 9-pack of bottles all in individual hand sanitizer holders for an easy solution to your sanitizer-carrier problems!


Pingback: The Best of Anne's Travels in 2015 - Anne's Travels