
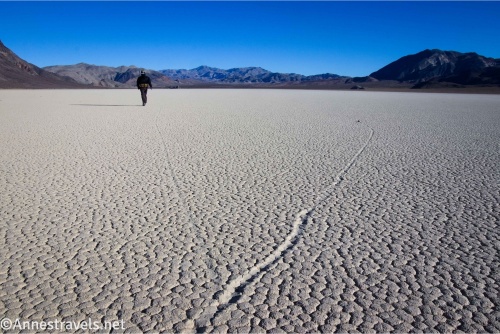
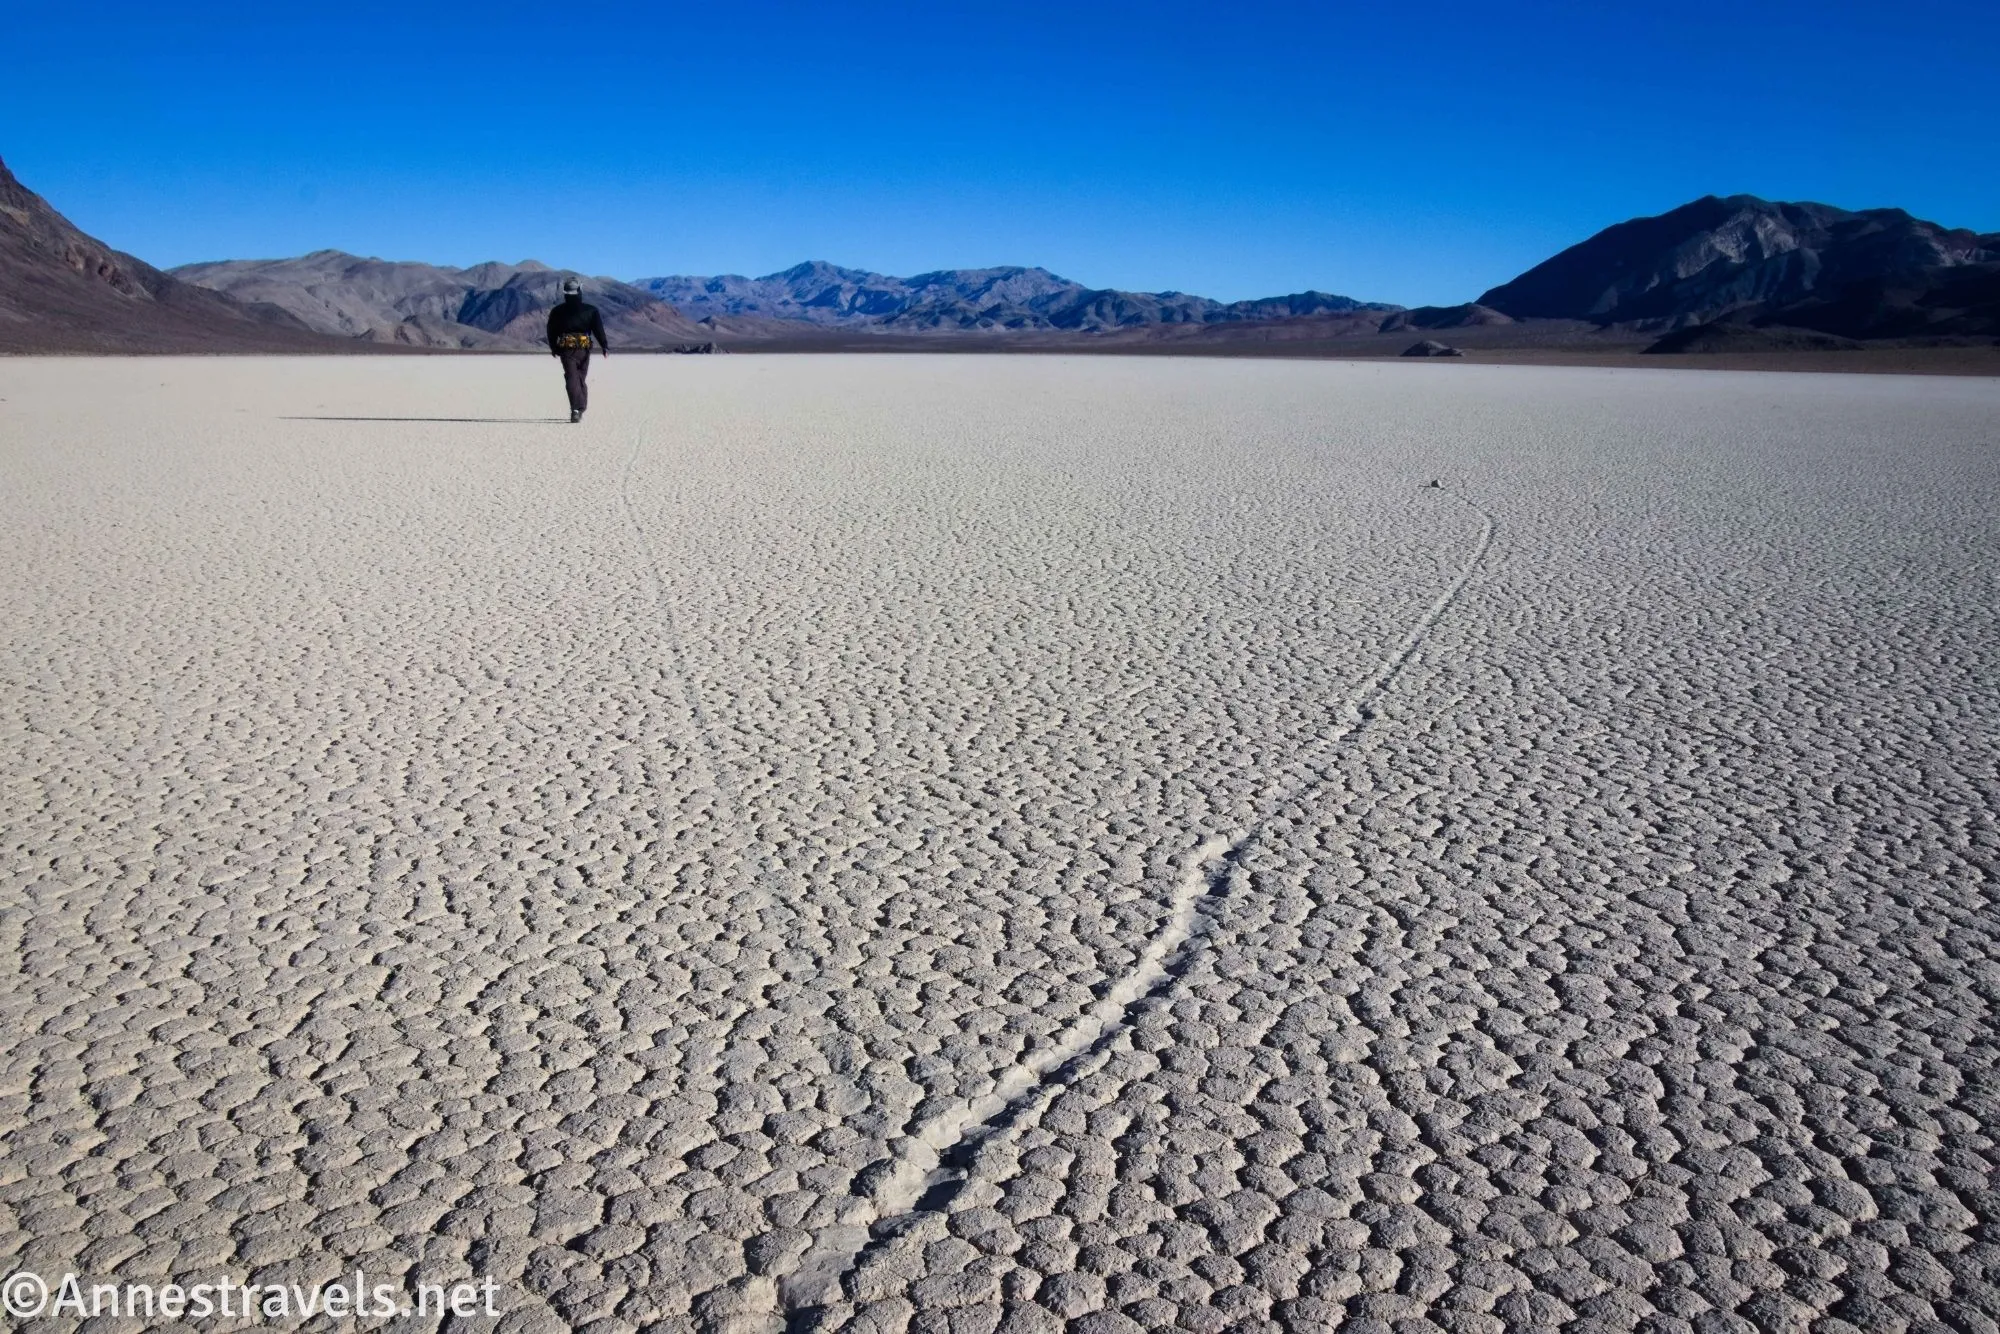
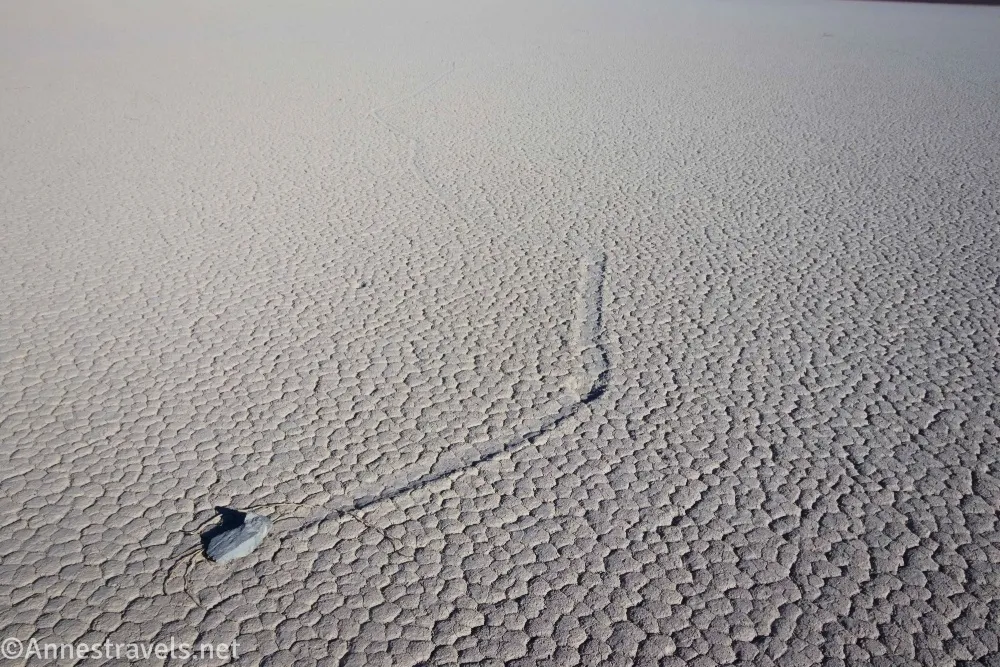
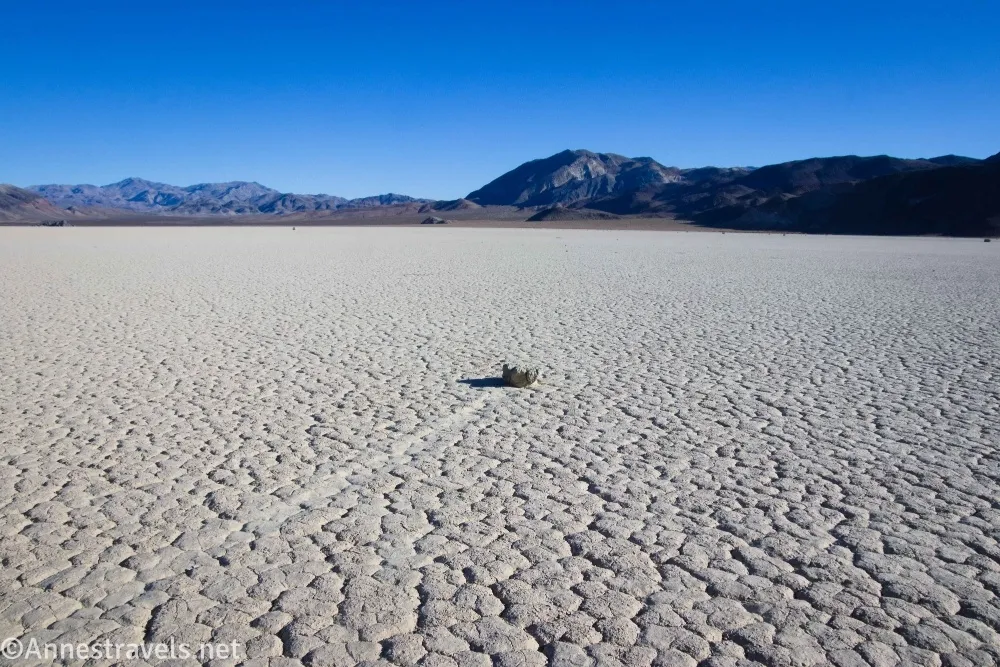
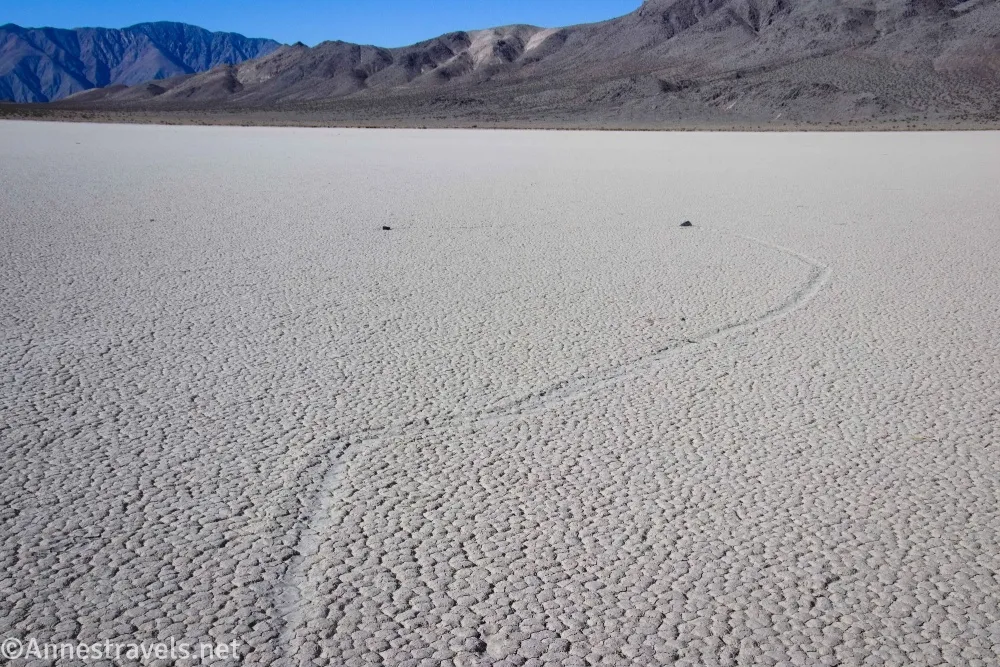
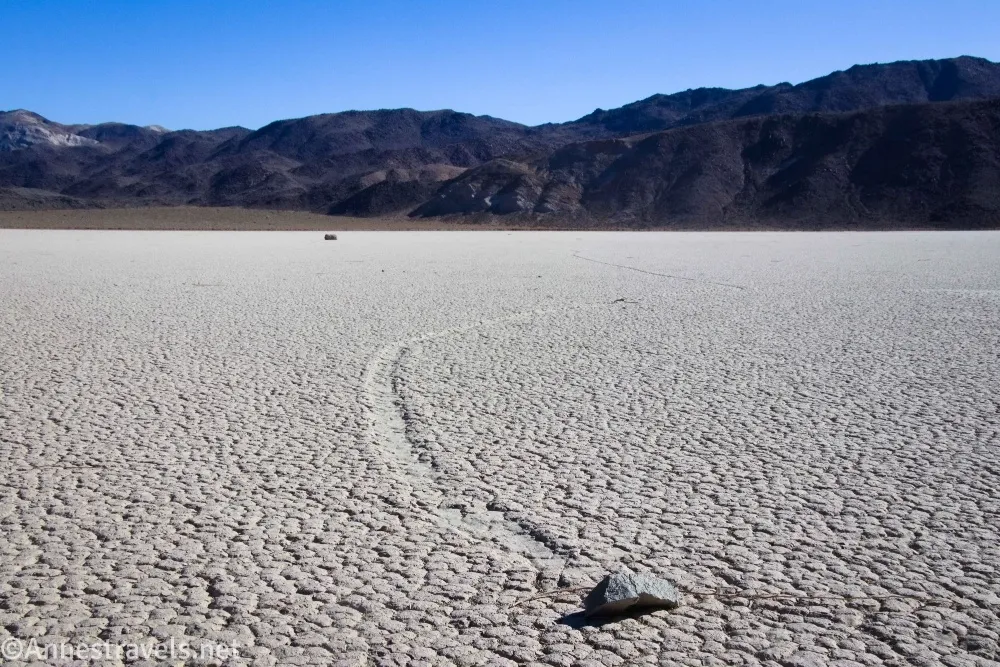
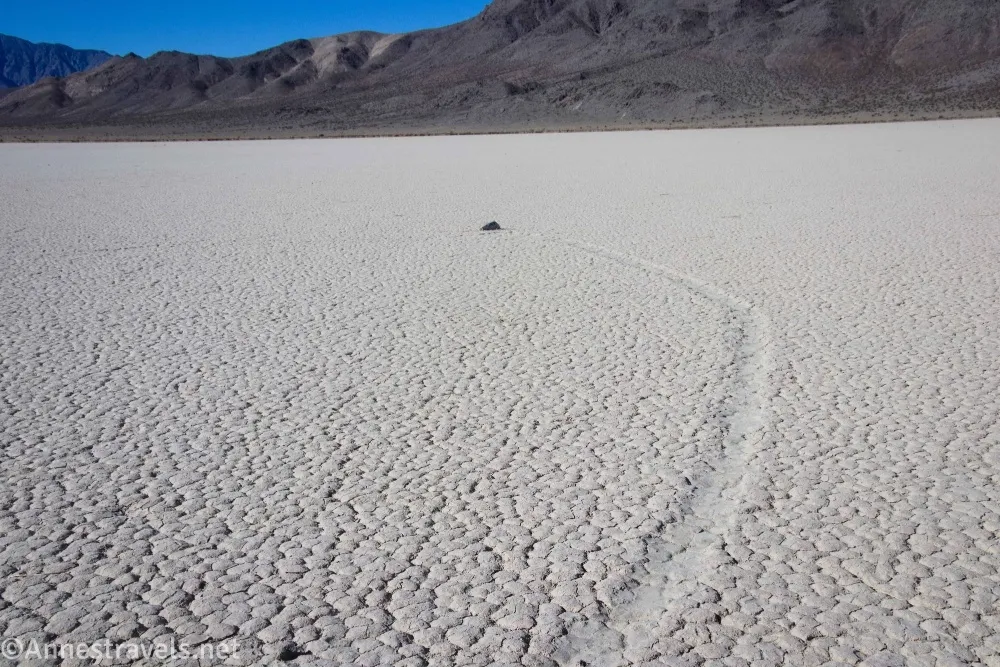
I put off driving the Racetrack Road for many years, despite owning a vehicle that could make the trek. I thought, “Sure, we’ll drive for hours on a rough dirt road to look for five minutes at a few rocks that someone said moved sometime in the distant past. Total yawn.” But I was so wrong. The road was every bit as bad (or worse) as I expected, but the Racetrack Playa Sailing Stones are amazing. I spent about an hour wandering around the dry lakebed searching out the rocks and following rock trails (so neat!), then some of my group spent most of the next day wandering around the playa finding more sailing stones while the rest of us hiked up Ubehebe Canyon. It’s just that fun to explore!
Quick Stats
This post contains affiliate links. If you click one of these links and purchase something, I may receive a small commission at no extra cost to you.
I need to make a few very important caveats before I can tell you how to see the Sailing Stones (sometimes called the sliding stones). 1) You must have a high clearance vehicle or AWD to drive the Racetrack Road. Most people will tell you 4×4 is required, but it’s more important to have good tires, as the rocks are sharp but there is no sand or ledges that would require 4×4. Do not attempt without a spare tire and the means to replace the tire – on our way to the Racetrack, we met a guy who had a spare but no jack. We were able to help him out, but it looked pretty bleak for him for a bit. I drove the road in my Ford E150 stock van (2WD; reasonably high clearance), but I’ve also driven a lot of 4×4 roads in it, so I’m not exactly a novice. Remember, towing costs can easily be $2,000 (and not covered by AAA) if you get stuck or break down.
2) Do not walk on the playa when it’s wet. I will repeat: Do not walk on the playa when it’s wet! Your footprints could last decades. Add to this that the rock trails aren’t visible when the playa is wet, so you aren’t doing yourself or anyone else a favor by ruining the experience for everyone who comes after you.
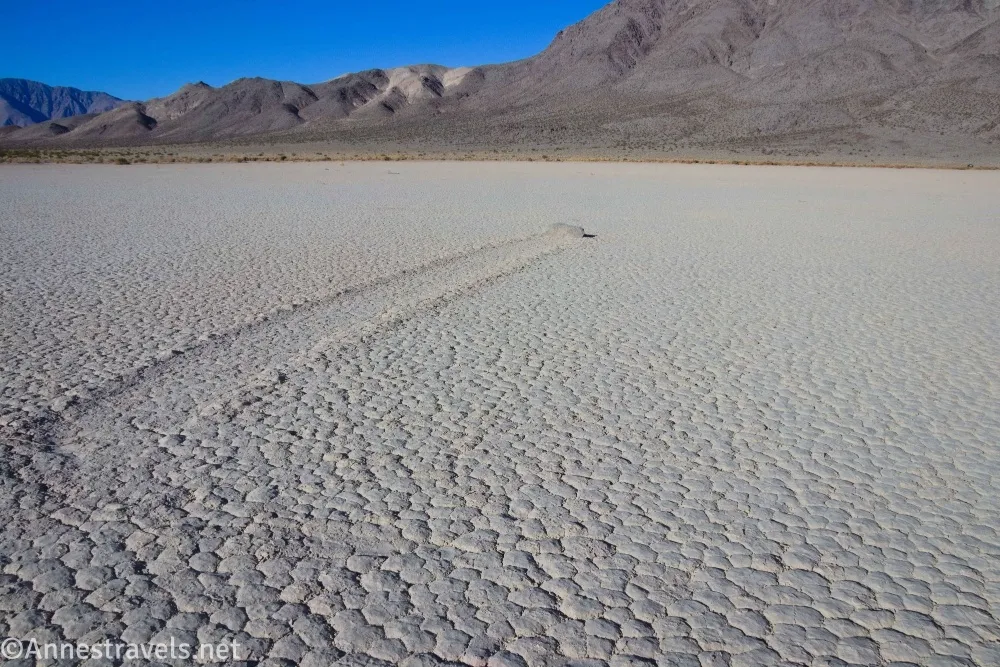
3) Do not touch or remove the rocks. A vandal or two has made fake rock trails near the parking area; don’t be the object of “how stupid can they get?” from all of the visitors who come after you.
With those out of the way (whew!), let’s get onto the fun stuff!
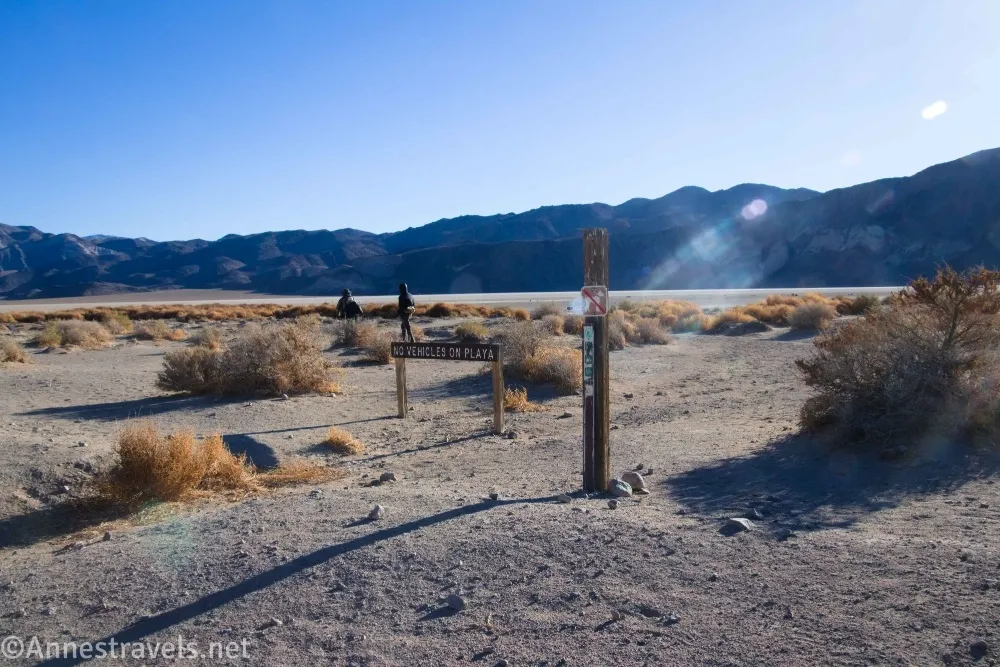
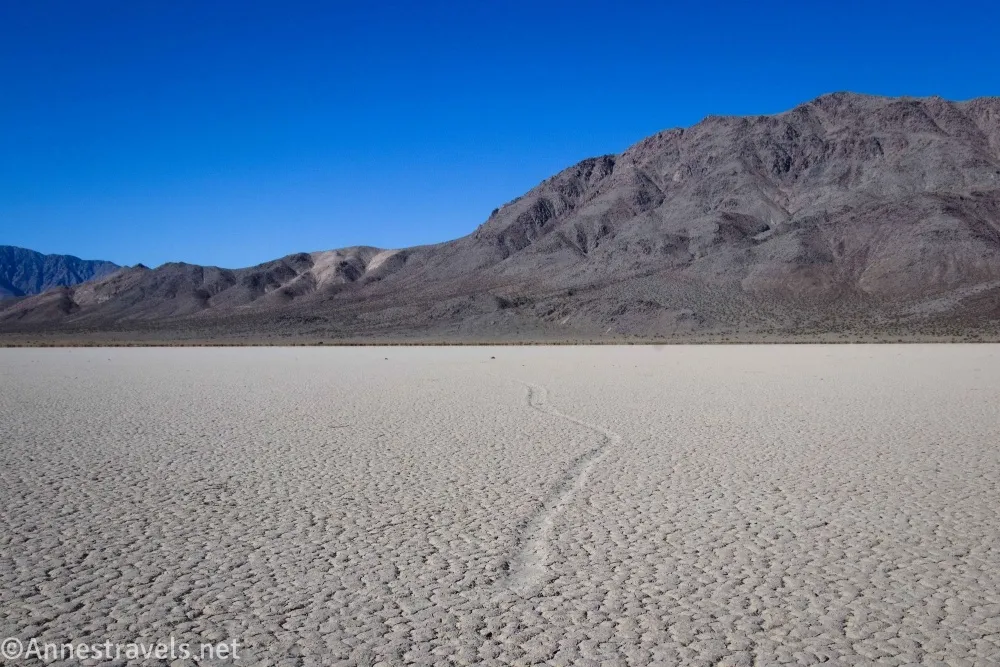
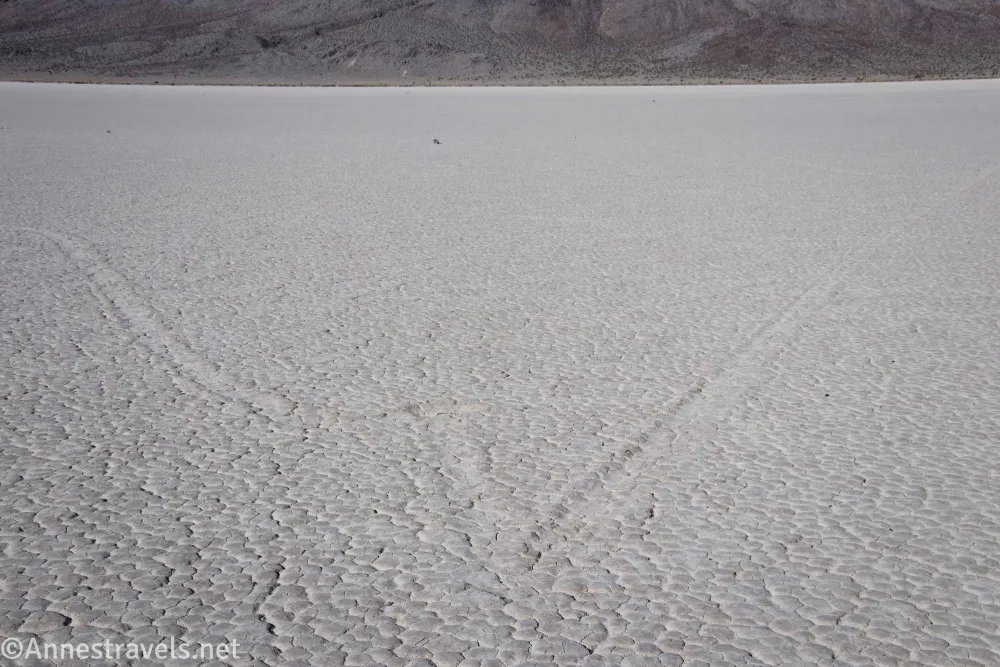
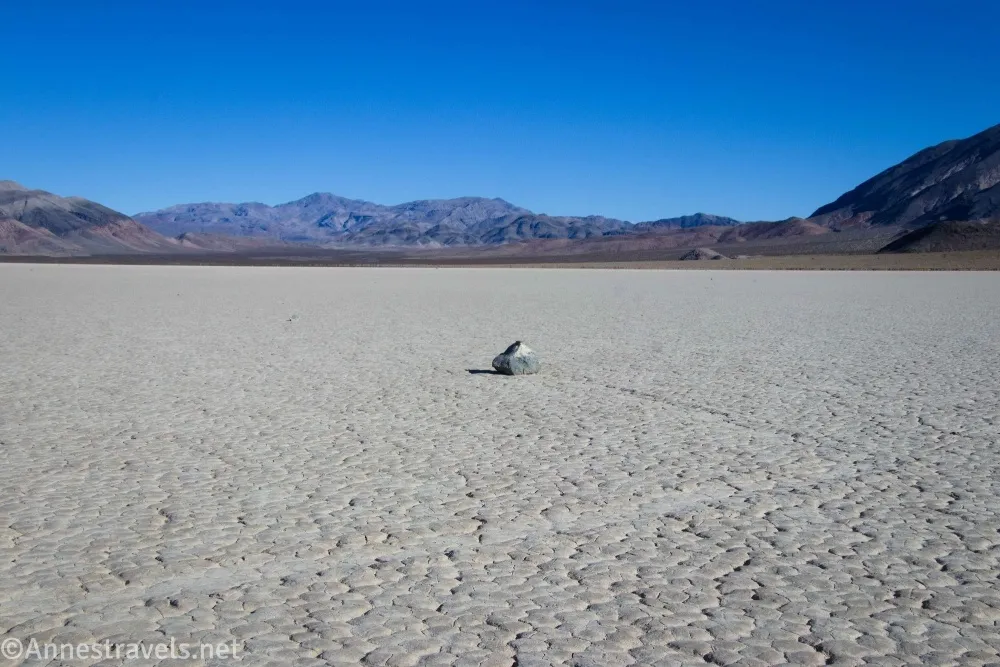
0.0 The Racetrack Playa Parking Area (3,781ft.). A sign marks the parking area with information about the Sailing Stones and possible explanations for how the rocks move. Walk east past the sign about “No Vehicles on the Playa” onto the dry lakebed. A few rocks with paths behind them have been made by vandals; keep walking east to about halfway across the lakebed to begin to see the real moving rocks. There are stones in quite a number of places – head for 36.665510°, -117.557015° and then head north (left) and explore to find your favorites. The rocks vary in size considerably, but the biggest one I found was around the size of a cantaloupe. Thankfully, the area is flat enough that it’s hard to get too lost. If you do get lost, simply head due west and you’ll come to the Racetrack Road. (36.6657174°, -117.5681549°)
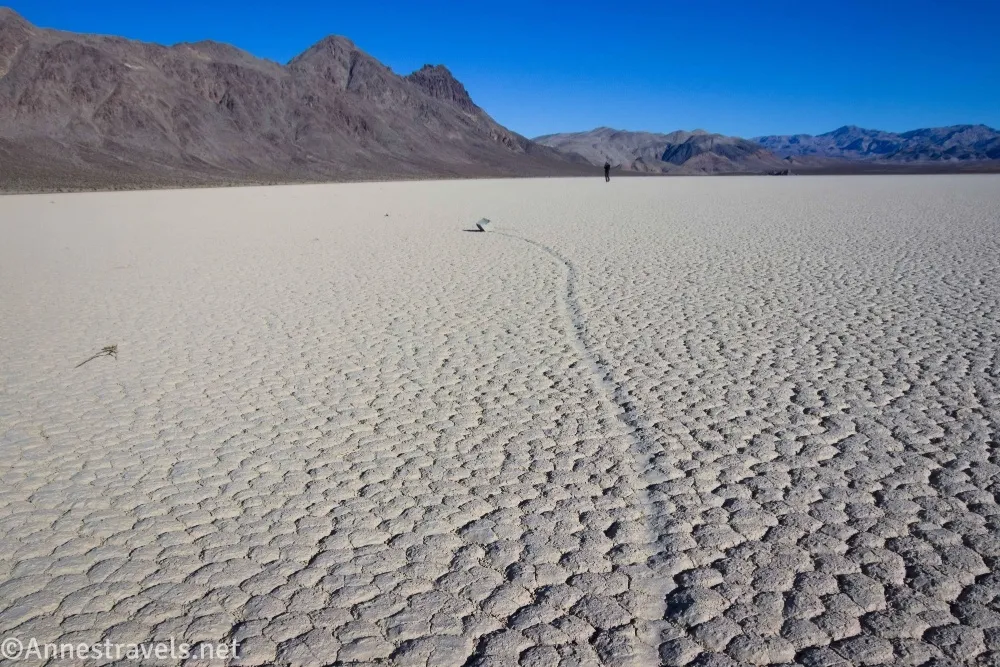
I made a little video for you as I followed a rock trail across the playa – one of the most surprising things to me about the Sailing Stones is just how long some of the rock trails are. This is a short one!
The Sailing Stones were made by – well, no one is quite certain, but it seems they were made when the damp playa freezes, and strong winds push the rocks along with an “ice shove” from the breaking up of the ice sheets at record-breaking speeds of up to 16ft. per minute. However, this does not explain everything about the rocks’ movements, which continue to puzzle scientists and visitors alike.
A few tips for seeing the Sailing Stones:
1) Most people drive out to see the Sailing Stones as a day trip. This is fine, but you’ll have to be careful with your time – there’s a lot to explore out here, and driving the road is an all-day experience in itself!
2) Don’t mistake the Sailing Stones for the nearby Grandstand. The Grandstand is the first parking area you’ll come to when driving in from the Ubehebe Crater, but the Sailing Stones are farther south along the same road.
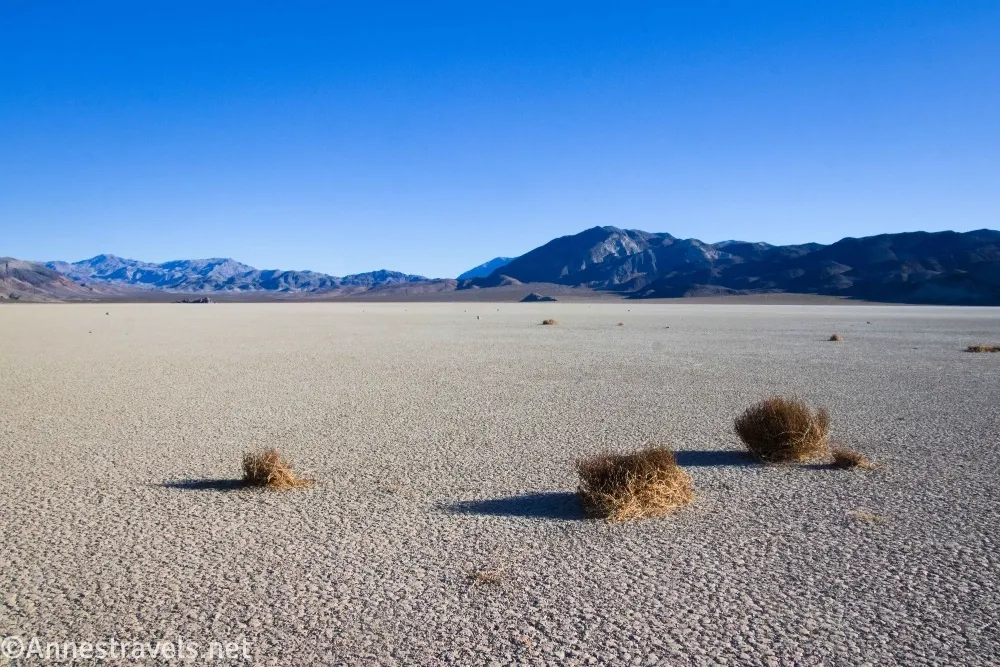
3) The lighting is best in the early morning or late afternoon.
4) Midday is busiest on the playa, because that’s when everyone who is driving in as a day trip arrives. This is not an issue (“busy” is still pretty chill), though I did very much enjoy the solitude of exploring the playa to my heart’s content without seeing another soul the entire time I was out there (I met a couple or two as I was going back to the parking area).
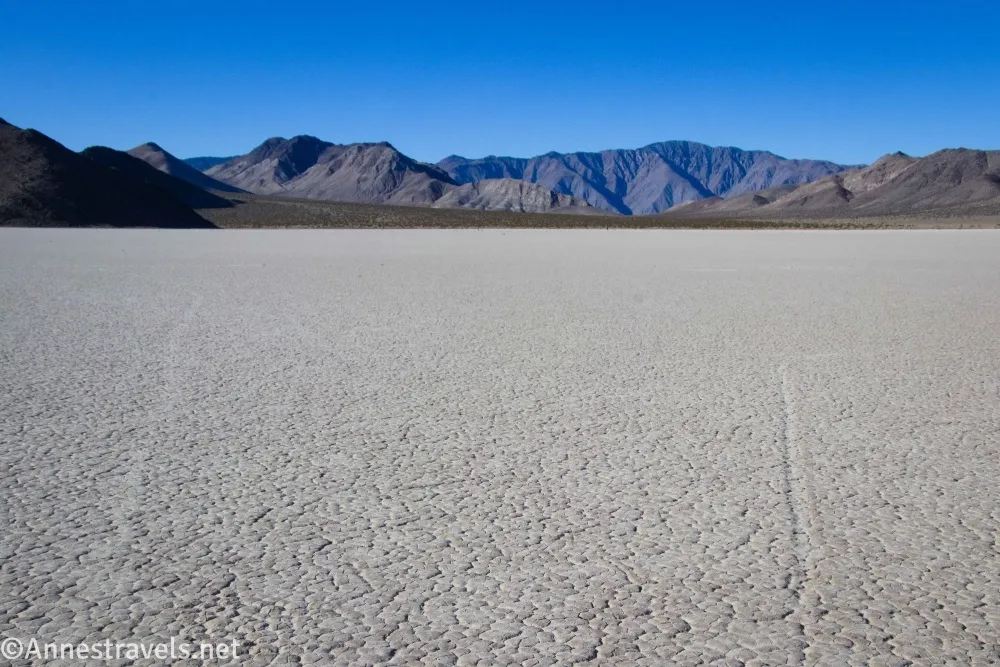
5) The rock trails may disappear completely after rain. This is normal – they’ll be back after the playa dries out.
6) Free range camping is not allowed around the playa. The Homestake Dry Camp is located at the end of the road (not too far away), but at least when I visited in 2025, the road was terribly, terribly washboarded (we’re talking you can only drive less than 5mph kind of washboard). And the restroom was so full, you wouldn’t want to use it. Just sayin’. (Look at the NPS’s wilderness map to see where you can and cannot camp.)
7) If you want to spend a day or two, some of my favorite adventures on this trip were to the Grandstand, up Ubehebe Peak, around the Lippincott Mine, down Corridor Canyon from the Ubehebe Lead Mine, and the Lost Burro Mine (accessed either from the Hunter Mountain Road or via Ubehebe Canyon aka 49 Dryfall Canyon which poses a real challenge!)
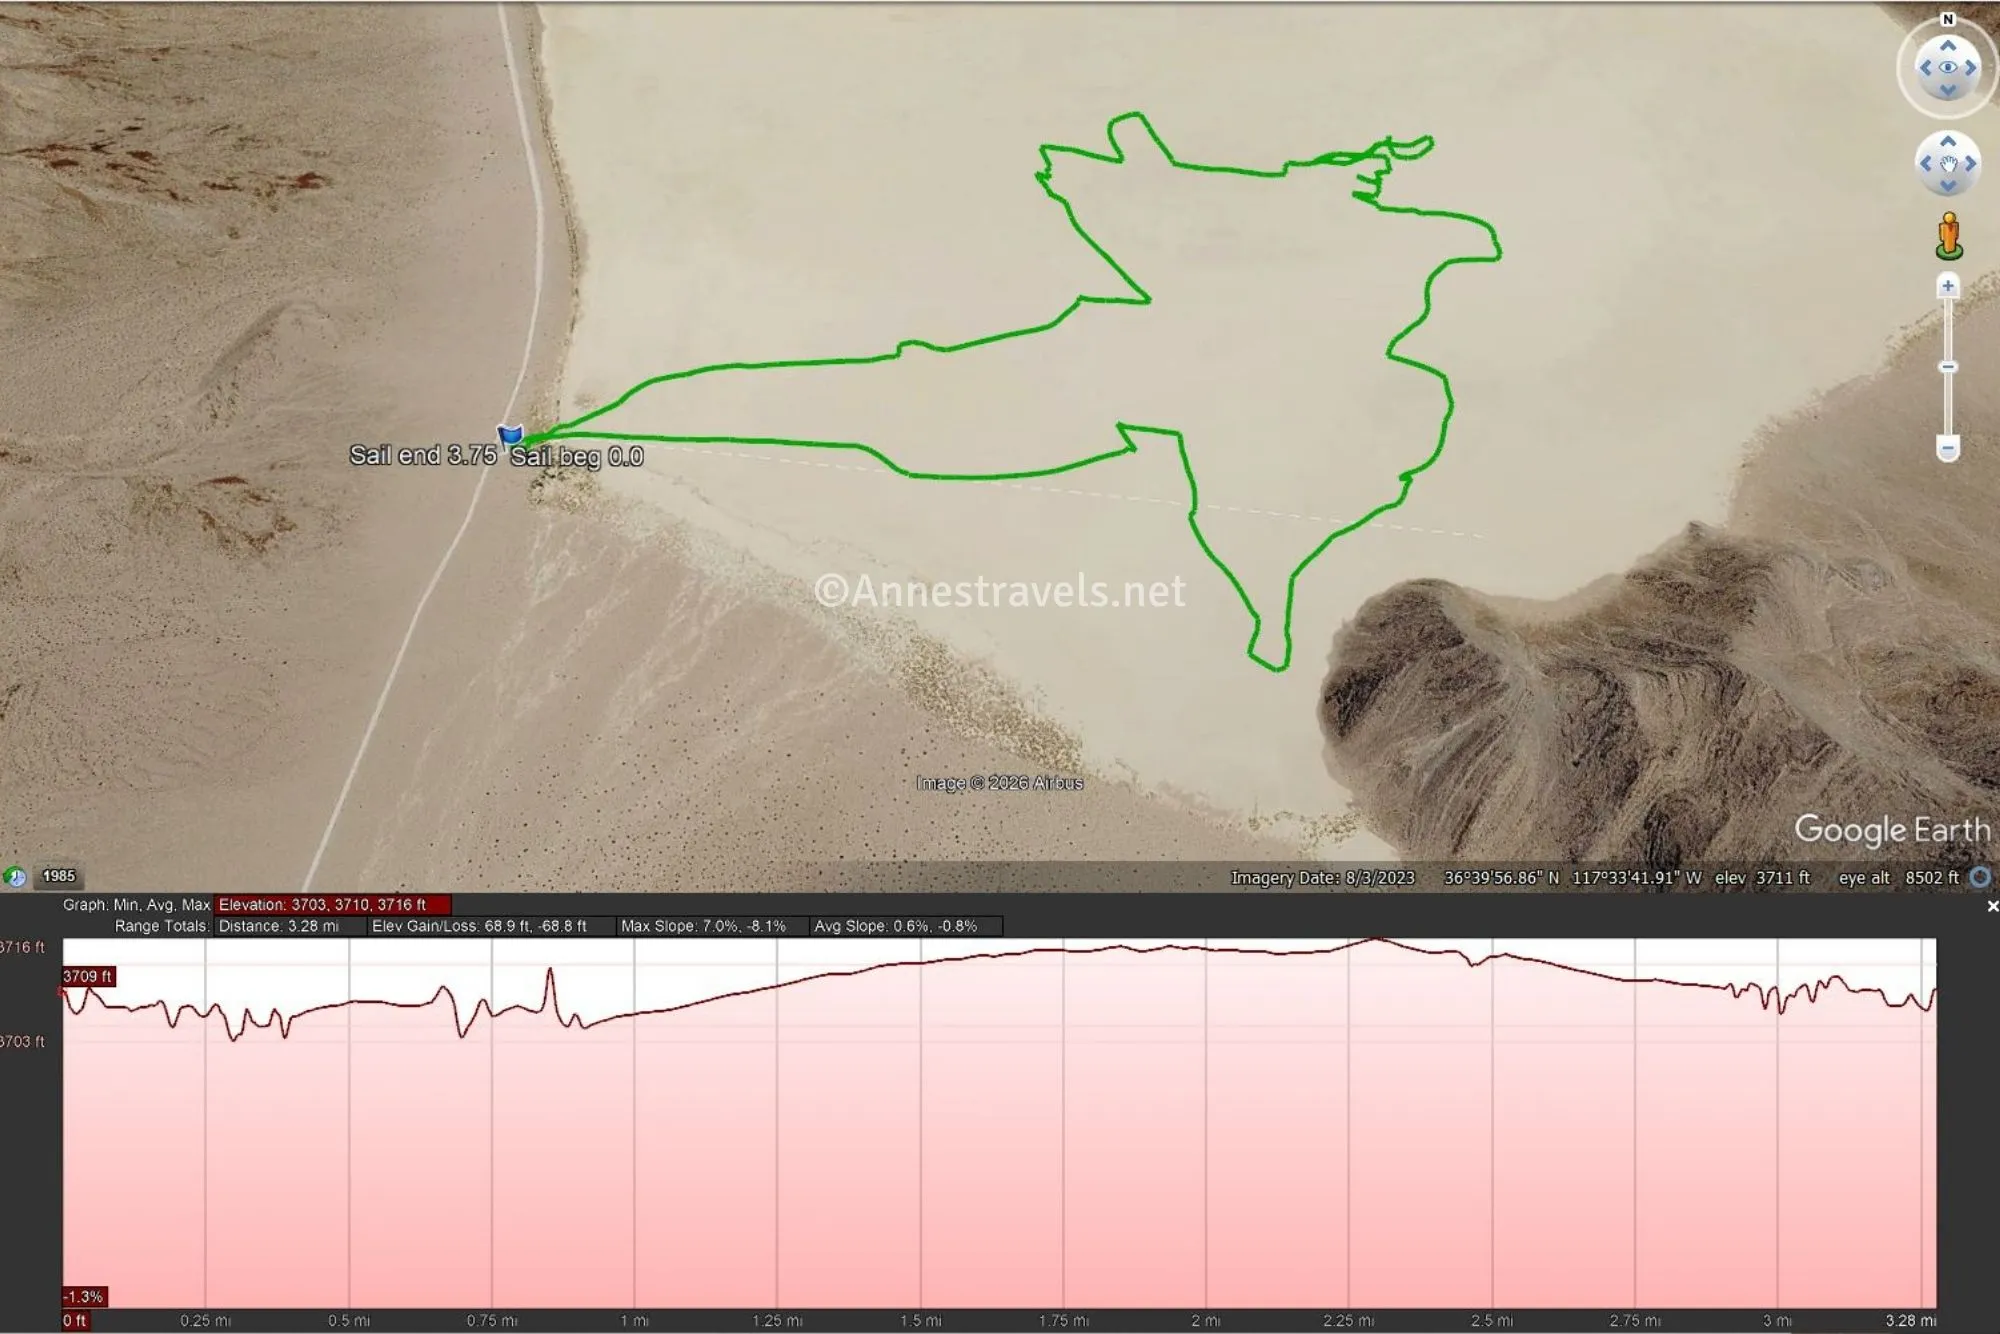
Round Trip Length: As little as a mile to see some nice Sailing Stones; I went 3.75 miles wandering around the playa
Elevation Gain: I rose a total of 69ft. (3,703ft. to 3,716ft.) with all my wanderings
Facilities: None
Fees: $30/vehicle, valid 7 days, to enter Death Valley National Park. America the Beautiful National Parks & Federal Public Lands Passes and Death Valley Annual Passes are accepted.
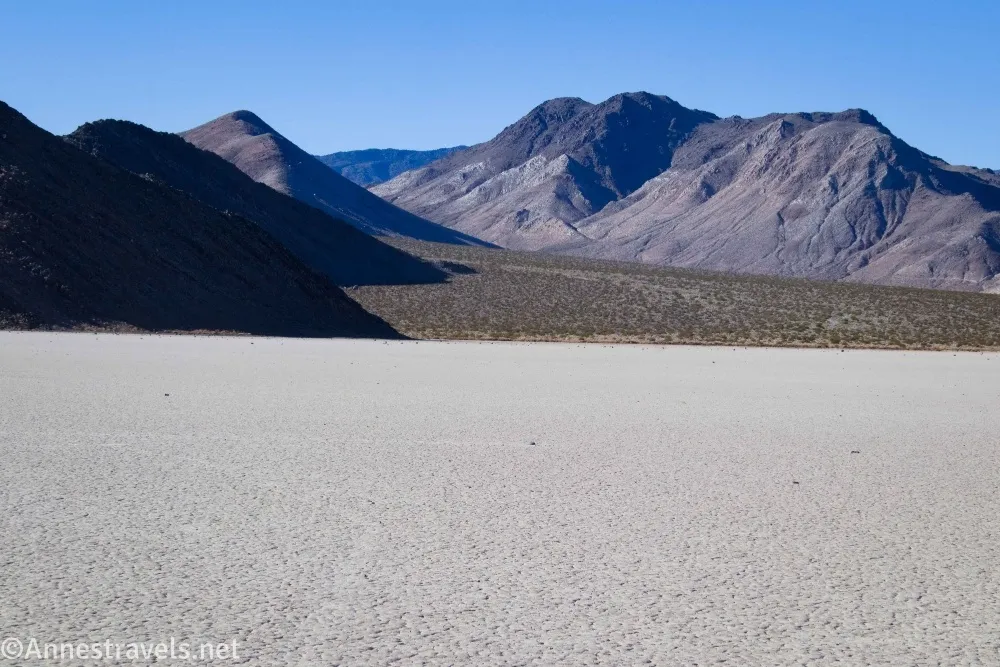
Trail Notes: The playa (dry lakebed) is extremely exposed – wear sunscreen, bring water even for a short hike, and try to visit in cooler times of year (November-March). Take your time out here. I won’t go crazy telling you that you need to make sure you have gas and plenty of water, but here it is in case you forgot – it’s best practice to have an extra day or two’s worth of food/water in case you get stranded. Take your time on the Racetrack Road, as the biggest issue is usually the sharp rocks puncturing tires (slow moving vehicles tend to have fewer punctures). It will take a full, full day to drive from Furnace Creek up to Ubehebe Crater then down the Racetrack Road and back. In fact, I started out near Beatty, saw Rhyolite, walked around the crater, and arrived at the Racetrack area shortly before sunset. On our way back, we started fairly early and arrived at Hell’s Gate in time for lunch. So hopefully that gives you an idea of the time necessary to drive (hint: it’s a long, long drive!)
Trail 

Road
Signs
Scenery
Would I go 100 miles out of my way for this?
Overall Rating: 
GPS Coordinates for the Sailing Stones
TH: 36.6657570°, -117.5681530° (36°39.94542′, -117°34.08918′ / 36°39’56.7252″, -117°34’05.3508″) (3,718ft.) (0.0)
End: 36.6657800°, -117.5681480° (36°39.94680′, -117°34.08888′ / 36°39’56.8080″, -117°34’05.3328″) (3,717ft.) (3.75)
The gpx file for my wander around the Racetrack Playa can be downloaded – please note that this and the GPS Coordinates are for reference only and should not be used as a sole resource when hiking this trail.
Download GPX File size: 99.2 KB Downloaded 53 times
(Note: I do my best to ensure that all downloads, the webpage, etc. are virus-free and accurate; however, I cannot be held responsible for any damage that might result, including but not limited to loss of data, damages to hardware, harm to users, from use of files, information, etc. from this website. Thanks!)
Getting to the Sailing Stones
From Furnace Creek Visitor Center, follow CA-190W toward Stovepipe Wells. After 17.1 miles, turn right onto the North Highway (Scotty’s Castle Road). The next 33.4 miles is very scenic and very, very long as the road heads through the desert between the Grapevine Mountains (right) and Cottonwood Mountains (left). Turn left up toward Ubehebe Crater after 17.1 (as of 2025, this is the only way you can turn, as the upper part of the Scotty’s Castle Road is closed to all traffic, including vehicles, bicycles, and pedestrians). Travel uphill for 5.3 miles through great views; the road splits here with one-way traffic traveling to the right. Half a mile later, before you reach the parking area for the Ubehebe Crater, the Racetrack Road diverges on the right. There are plenty of signs to scare you away (rightly so!).
I’ll do an entire post on the Racetrack Road at some point, but for now, enjoy the views and keep traveling (slowly) for 19.6 miles to Teakettle Junction. Continue right here (not on the Hunter Mountain Road) as the road continues to descend to the level of the Racetrack Playa (there are great views as you come close to it). The parking area for the Sailing Stones is on the left 27.3 miles from the Ubehebe Crater Road.
Interactive Trail Map
Browse Nearby Hikes
Explore the Best Death Valley Has to Offer
If you want to explore the depths of Death Valley, and you’re not sure where to start, Digonnet’s book is the place to start! There are so many classic and mostly-forgotten hikes within its pages. Buy your copy here.

One response to “The Sailing Stones on the Racetrack Playa”
[…] This pretty much marked the dividing line of the trip for us (for one thing, the weather improved dramatically after this in terms of sunshine), so I’ll continue talking about it in the next post… including how we drove out to the Racetrack to see the famous Sailing Stones! […]