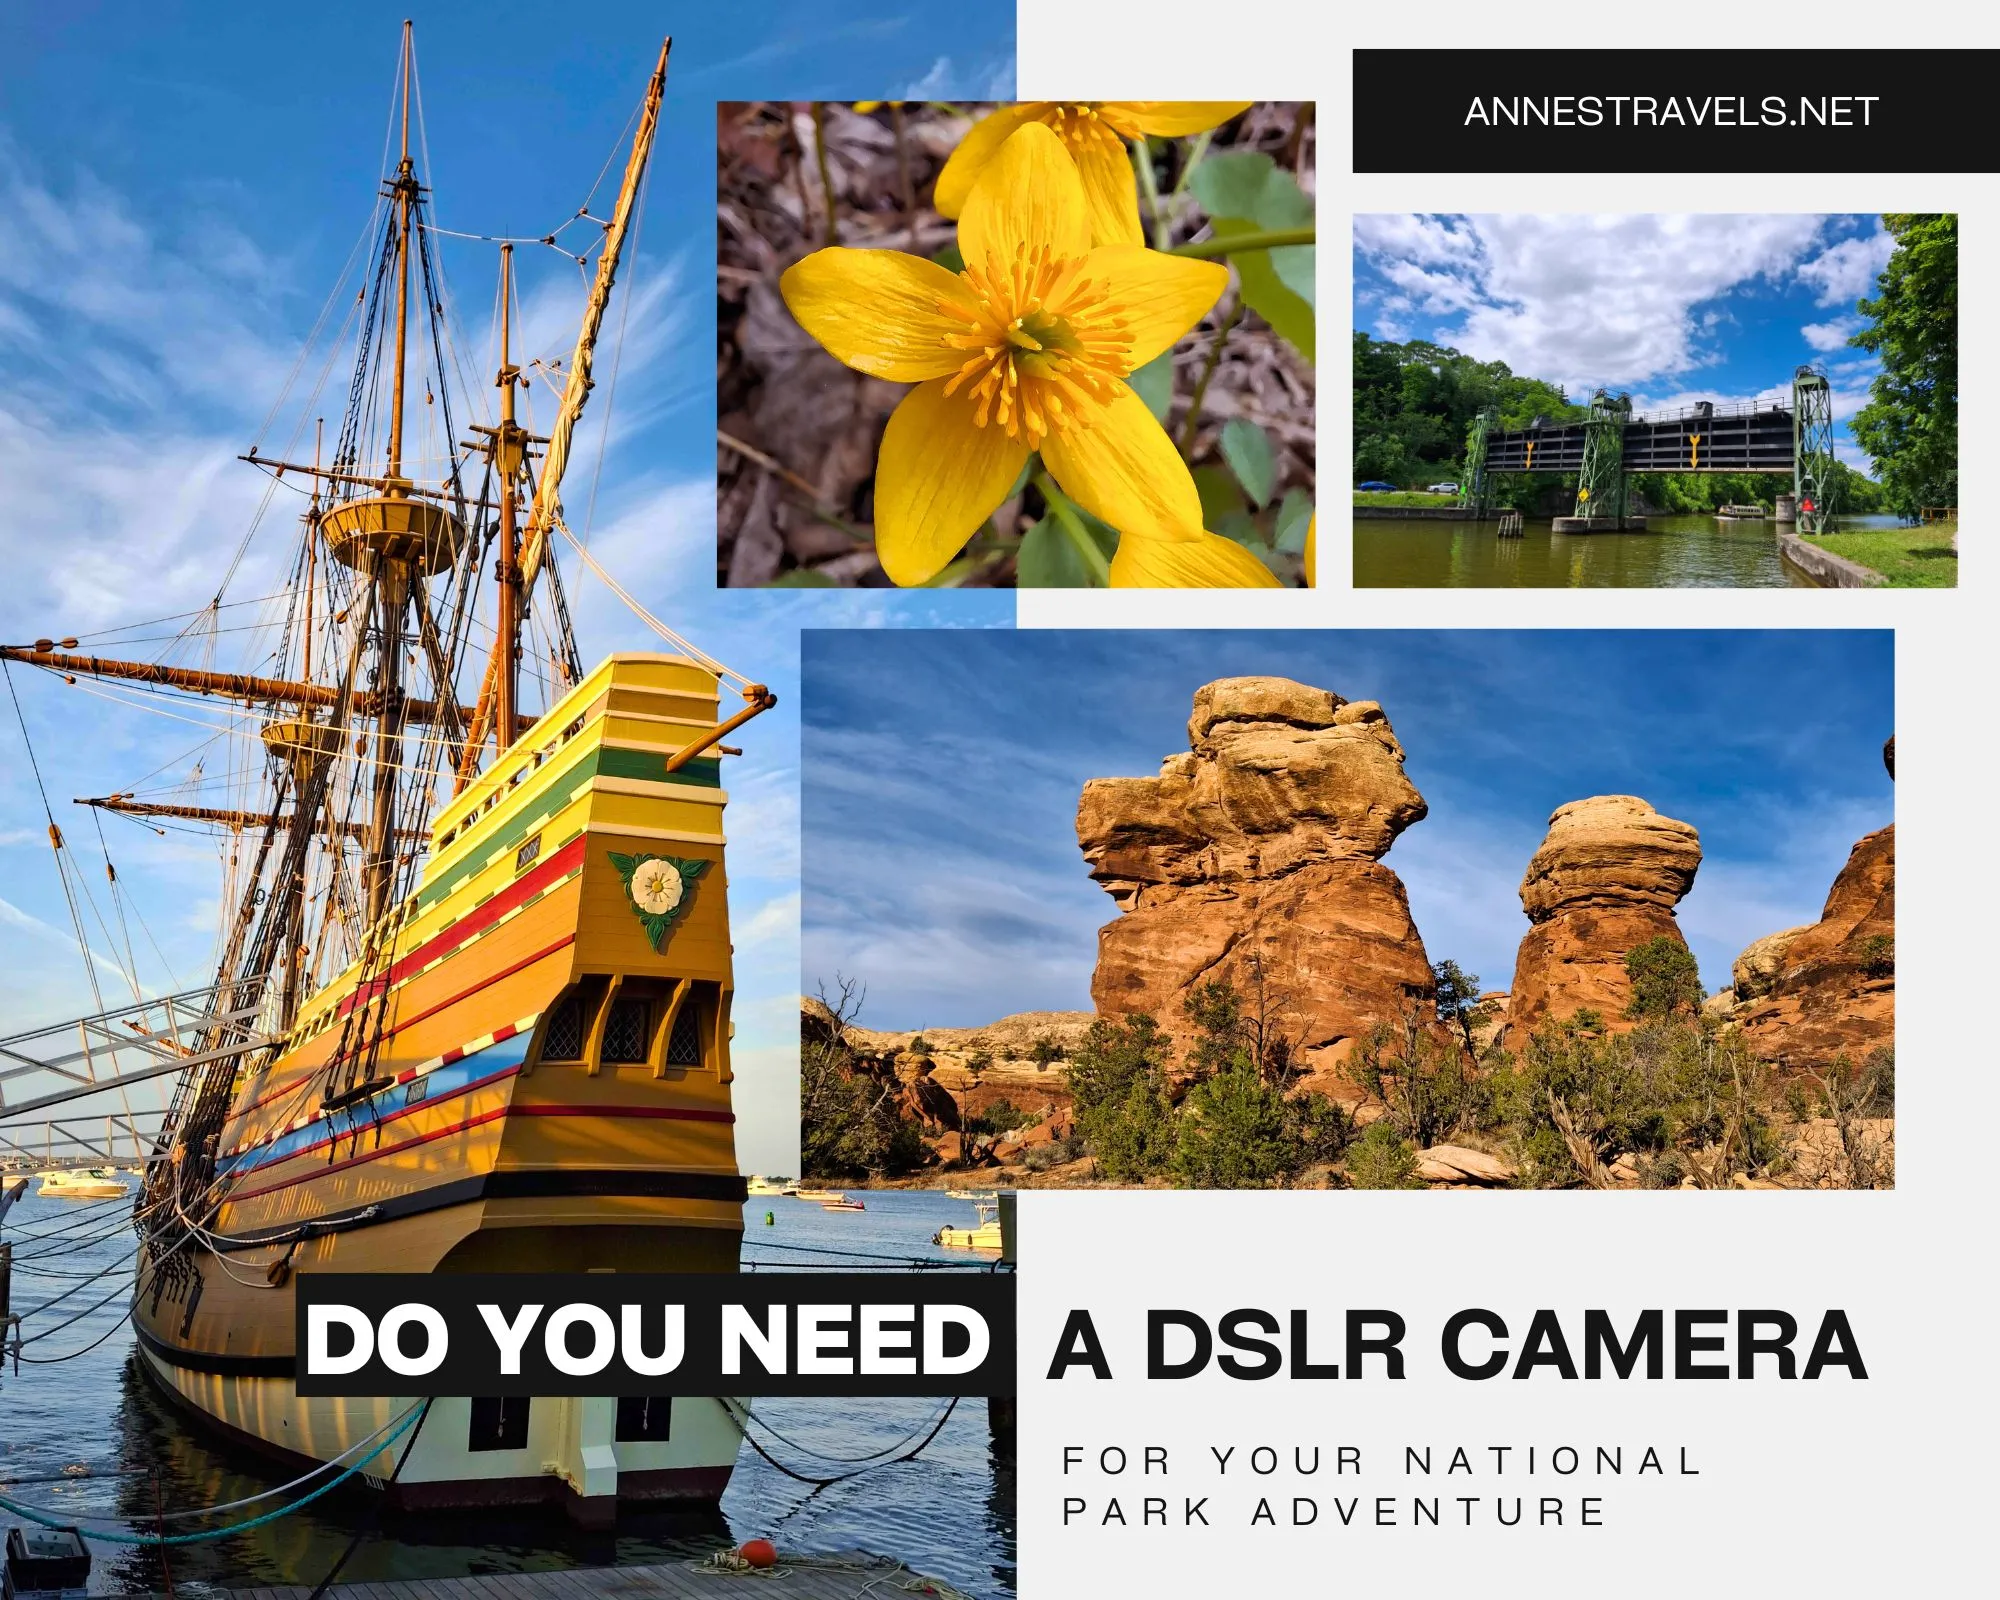
When I chat with people on the trails around the US, I often hear them say, “I bought this camera for this trip.” They then go on to tell me they don’t know a thing about the camera, but they’re going to have memories with these pictures when they get back home. I also often offer to take photos of people in front of iconic views – with their cell phones. In this post, I’d like to talk a little about buying a camera for a national park adventure: Do you need a “real” camera (or is a cell phone enough), what you should look for in a camera, and the settings on a camera you’ll want to understand before taking a camera on a trip of a lifetime.
Note: There are affiliate links in this post; there is never an extra cost to you associated with clicking these links or buying a product.

Should You Buy a DSLR, or is a Cell Phone Enough?
The short answer to this is, “it depends.” Which isn’t very helpful, so let’s break it down.
Here are a few questions you can ask yourself about how you plan to use the photos you take.
1. I plan to mostly just share my photos on social media. Yes = Cell phone is just fine; No = Keep reading.
2. I want to spend lots of time scouting photography locations, edit the photos once I get home, and have the best possible images. Yes = Definitely go for a DSLR; No = Keep reading.
3. I want to print my pictures after the trip. Yes = DSLRs usually make the best prints, especially for glossy framed images. If you’re printing at a large size, you’ll want a DSLR on RAW settings. If you’re printing at 5×7 or smaller, a cell phone picture (especially from a quality cell phone camera) should be fine. No = Keep reading.
4. I will tuck away my photos for safe keeping/use them as a rotating desktop/occasionally show them to friends and family in a digital form. Yes = Either a DSLR or a phone camera works for this. FYI – usually, cell phone pictures look better on the phone than on a computer screen; I often do a light edit on my cell phone pictures before using them on a computer. No = Keep reading.
5. I want to be able to show my friends my pictures on my phone. Yes = Maybe obvious, but a phone is your best bet; No = Keep reading.
6. I will be giving a presentation on a large screen after the trip. Yes = Either a cell phone or a DSLR can work for this, though if the screen is digital, a DSLR’s pictures will probably look better; No = Keep reading.
7. I have a modern iPhone or a Pixel. Yes = You cell phone pictures will be better than an off-brand DSLR and most point-and-shoot cameras; No = Keep reading.
8. I have an Android device (not Pixel). Yes = Does it take good pictures? There is a lot of variation in quality across phones and manufacturers. If it takes a good picture, there’s less need for a DSLR. No = Keep reading.
9. I will be in a faced-paced environment on this trip; I need to be able to snap photos quickly. Yes = A DSLR’s biggest weakness is that it often takes 10-60 seconds to get it set up for a picture – cell phones are much faster to use; No = Keep reading.
10. I’m strapped for money right now. Yes = If your cell phone is good enough, sticking with it will certainly be easier on your pockebook as even used DSLRs often run upward of $500; No = Keep reading.
11. All professional photographers use DSLRs because they’re so much better than cell phone cameras, and I want to be at least semi-professional. Yes = Well, to be honest, many professional photographers use cell phones for part or all of their photography. DSLRs can often take a higher-quality picture, but for general use (social media, sharing on your phone, etc.), the quality difference isn’t visible enough to make much difference. No = Read yes.
In the end, the choice is really up to you. If you love photography and want to spend a lot of time with it, a DSLR can be very inviting. If you want quick and easy shots, or you’re tight on cash, a good-quality cell phone camera is certainly good enough. Some of my professional photographer friends will upgrade their phone rather than invest in more DSLR equipment. More important than a cell phone vs. a DSLR is knowing how to use the camera (which I’ll talk about in a minute).

What Should I Look for in a DSLR?
If you’ve decided to get a DSLR for your adventure, here are a few things to look for.
1. A name brand. Nikon, Sony, Canon, Pentax, Leica, and Olympus are all good brand names (so is Fujifilm, though I haven’t been impressed with their quality in recent years). Don’t go for an off-brand, as they tend to have less photo quality. I’m personally a fan of Canon, but there are also advantages to the other brands, as well.
2. Weight. Choose a camera you can carry comfortably. Mirrorless cameras (similar to DSLRs, only they work slightly differently on the inside) tend to be lighter than many DSLRs, and a large lens will add weight. I use a camera vest to hold my lightweight mirrorless camera and its very large lens (what can I say, I love my Tamron 18-400 lens!).
3. Features. There are a lot of possible features, but here are a few I find especially helpful: A flip-out or articulating digital screen, manual controls (aperture, shutter speed, and ISO – this is standard for all DSLRs and mirrorless cameras), multiple (it doesn’t have to be crazy high) focus points, and (as of 2025) at least 20mpx (megapixels). Other features (viewfinder, crop sensor vs. full sensor, video frames per minute, etc.) are optional depending on how you plan to use the camera (remember that a full sensor adds weight, but it also allows you to blow up your pictures larger for printing – though I’ve never had an issue with blowing up my crop sensor pictures to 8.5” x 11” and even larger).
4. Price. The most expensive cameras are likely far more than you need if you just want a camera for a national park adventure. Prices have risen considerably in recent years (mostly due to the drop in the number of cameras sold). When thinking about price, consider your budget and how much you will use the camera after the trip. If it’s a one-and-done, a less expensive camera will do just fine, while if you’re like me taking thousands of photos every year, getting something with a little more quality is likely a good idea (which is why I chose the now-defunct M6 over a T7).
The Most Important Thing: Know How to Use Your Camera
The most important thing in choosing whether to buy a camera or use your smartphone is this: You want to know how to use it. Buying a camera won’t automatically make all of your pictures look amazing. Here are a few settings you should know how to use either on a phone or a DSLR:
1. Composition. This isn’t a camera setting, but knowing the basics of composition will improve your photos dramatically, no matter how quality your camera/phone is (or isn’t). Here are 10 ways to upgrade your landscape photography with any camera!
2. Know what your camera is capable of doing. This only comes with practice; I highly recommend taking your camera to a local park or green space several times and testing out all of the pre-set and possibly semi-hidden settings to find your favorites (for example, I very much like the Vivid setting on my Canon cameras, but it’s way too much on other brands). Also, try the camera or phone in various lighting settings – my camera is not good with dark settings without a tripod, but my phone is quite good at semi-darkness. Harsh sunlight and shadows are difficult for the camera to capture without editing later, but the phone is better at it (to an extent – and I can’t edit the phone pictures later as much from my phone!)
3. Learn about the exposure triangle (aperture, shutter speed, and ISO) and learn how to use aperture priority mode and shutter speed priority mode. Some phones have these modes, while others don’t, but you can still upgrade your photography by learning about the exposure triangle. Most photographers I know use aperture priority mode often, and shutter speed priority is the mode of choice for those silky waterfall photos.
4. Know what a RAW file is and whether you want to use it. At its most basic, a RAW file records far more information than a jpeg (standard photo format). This makes it better for editing the pictures later, but if you want a click-it-and-share-it approaching, you’ll want to take jpeg files (or both so you can edit the RAW files after you’ve shared your jpegs with the world). Note that many phones can take a RAW image as well as a jpeg, you just might have to dig through the settings a bit (it’s in “Pro” on my Samsung phone).
5. If possible, spend some time in a quality photo class. You don’t have to become an expert, just become more familiar with your phone or camera. Most quality classes jump into learning about and taking pictures and don’t waste several lessons on photography history, detailed descriptions of how a camera works, etc. though this can be interesting in moderation. I recommend Emma Davies’ free course “A Year with My Camera.”
If you have any questions or comments on this, please drop them in the comments box below! As long as you don’t include a link, I’ll be sure to see it shortly and respond, usually within 24 hours.
More Resources on Learning about Photography
If you want more resources about learning photography, try this book from National Geographic (currently only $14!)