
Is your sleeping bag still in great shape, but the zipper’s shot? I can’t even tell you how many times that has happened to members of our group. Since I’m the official seamstress for them, they usually ask me to replace the zipper. Usually, these new zippers don’t make the sleeping bag look as good as new, but they are very functional and there are things you can do to make the zippers appear as if they were original to the sleeping bag. After replacing two zippers at the end of our last trip (not to mention another zipper the trip before that), I thought I’d help other campers by posting a tutorial about “How to Replace the Zipper in Just About Any Sleeping Bag”.
(Note: Some links on this page are to webpages where I am an affiliate. If you click the link and buy something, I will get a small commission; however, there is never a higher cost to you.)
Materials to replace the zipper in a sleeping bag
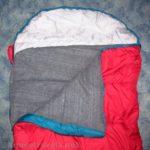
The sleeping bag. All sleeping bags
I’ve seen should work with these instructions. Mummy bags are a bit more complicated than normal sleeping bags in some ways (and easier in others), but both are quite doable with some patience.
A new zipper. This must be heavy duty (such as a jacket zipper), but it doesn’t have to be a specified “sleeping bag zipper”. Any heavy duty zipper over a yard (over a meter) can be long enough (measure your zipper if you want an as-close-as-possible fix). A specified sleeping bag zipper has the pros of going all the way down the sleeping bag (like an original zipper) and having a zipper pull on the inside of the sleeping bag. However, if you don’t mind the zipper only going about halfway down the side, you can buy the longest heavy duty zipper available at your local craft store (such as Joanne’s) and install this. Just make sure the zipper color matches the original zipper (for a more original-looking fix) or at least goes with the color of the sleeping bag. Browse sleeping bag zippers here.
Thread & bobbin. No need for special thread – regular cotton thread that matches the zipper is fine.
Seam ripper. Any ordinary seam ripper should do as long as it’s not too flimsy.
Pins. Normal sewing straight pins.
Sewing Machine. It doesn’t have to be fancy; just able to go forward and back up while sewing straight and to handle multiple layers of fabric at once. A zipper foot is helpful, but not a requirement.
Instructions to replace the zipper in a sleeping bag
Step 1: Examine the Sleeping Bag
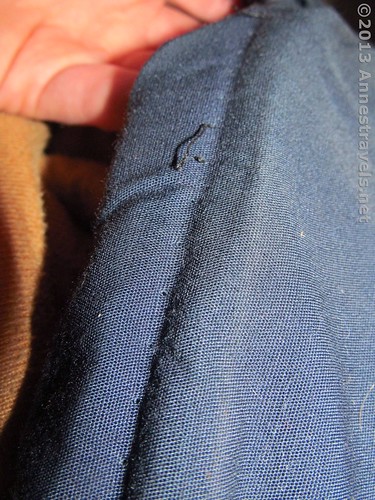
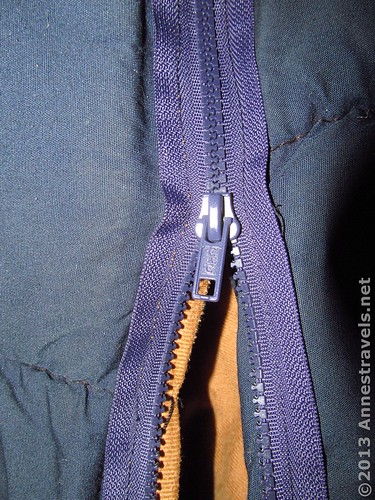
Unzipper the sleeping bag and examine the sleeping bag and its broken zipper carefully. How is the zipper sewn to the sleeping bag? If you were to stich over top of the existing stitching, how would the zipper lie on the fabric? Typically (in my experience), the zipper lies flat (in stitching position) when the teeth are facing out when the zipper is unzippered; is this true with your sleeping bag, or is the zipper in some other position? Take excellent mental notes, or even some pictures, of the way the zipper is currently installed on the sleeping bag. This will be important later. Also, note if there are straps at the bottom of the sleeping bag – typically, these are used for rolling up the sleeping bag. Just note if there are any; again, this will be important later.
Step 2: Rip Out the Old Zipper
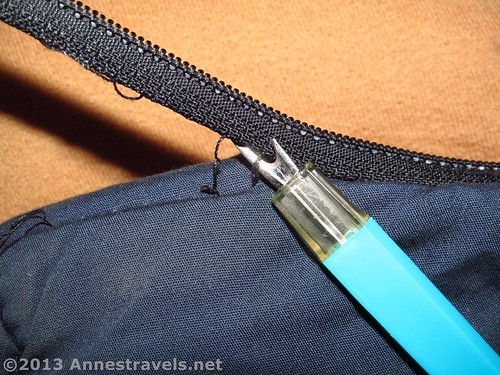
Pull one side of the unzipped zipper away from the sleeping bag until you can see the threads that hold the zipper to the sleeping bag between the zipper and the sleeping bag. Use the seam ripper to rip out this seam. If the sleeping bag does have straps at the bottom of the bag, these are typically sewn with the same seam as the zipper, so you’ll need to pin the straps in place before ripping out the seam across the strap. Repeat with the other side of the zipper.
After the entire zipper has been ripped out, pull out the broken threads that will still be sticking out of the sleeping bag.
Step 3: Pin On the New Zipper
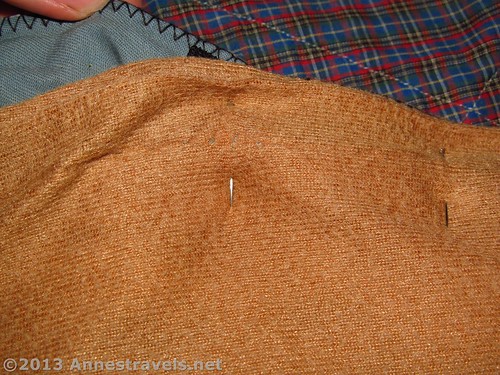
Unzip the new zipper. Using your memory or pictures, pin the zipper into place as the original zipper was sewn in place (like you observed in Step 1). Start at the top of the sleeping bag (a few inches below the top of the sleeping bag, really – most zippers don’t actually go all the way to the top) with one side of the new zipper. Pin along the old stitching line (you can often see this, but if you can’t, you may want to mark it before you begin pinning) all the way to the end of the zipper, being careful to keep the zipper flat against the sleeping bag. If the zipper isn’t long enough to reach the end of the sleeping bag opening, or is too long, don’t worry about it. We’ll deal with that later. For now, just pin to the end of the zipper, or to the end of the sleeping bag opening and let the excess hang loose. Repeat with the other side of the zipper, matching the inches from the top of the sleeping bag to the top of the zipper as the side you already pinned.
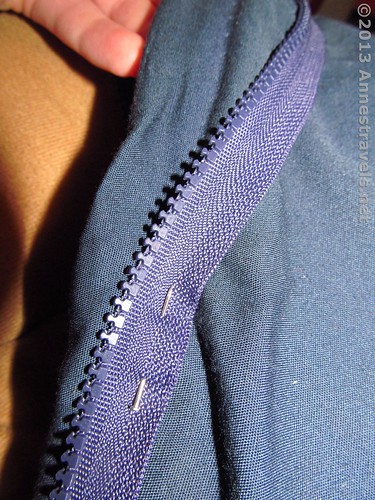
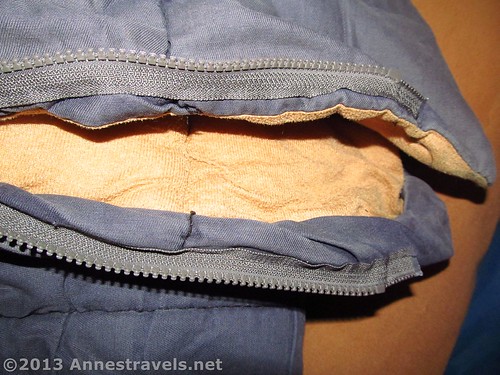
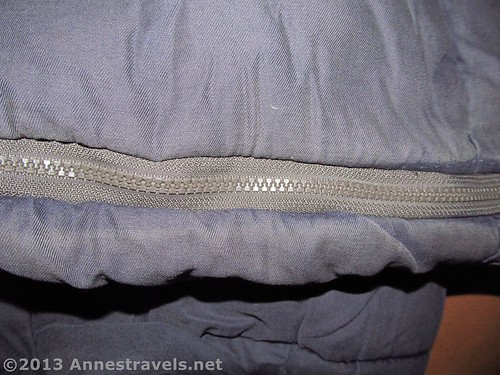
If you simply can’t remember how the sleeping bag’s original zipper was installed, look at the pictures below. These were identical sleeping bags; however, on one I stitched the zipper with the teeth out (first two pictures) and the other I stitched with the teeth in when the zipper was unzipped. (The teeth were supposed to be out, but I forgot on the second one and didn’t feel like pulling out the new zipper and restitching it – so I left it. Let’s hope the owner didn’t mind 🙂 )
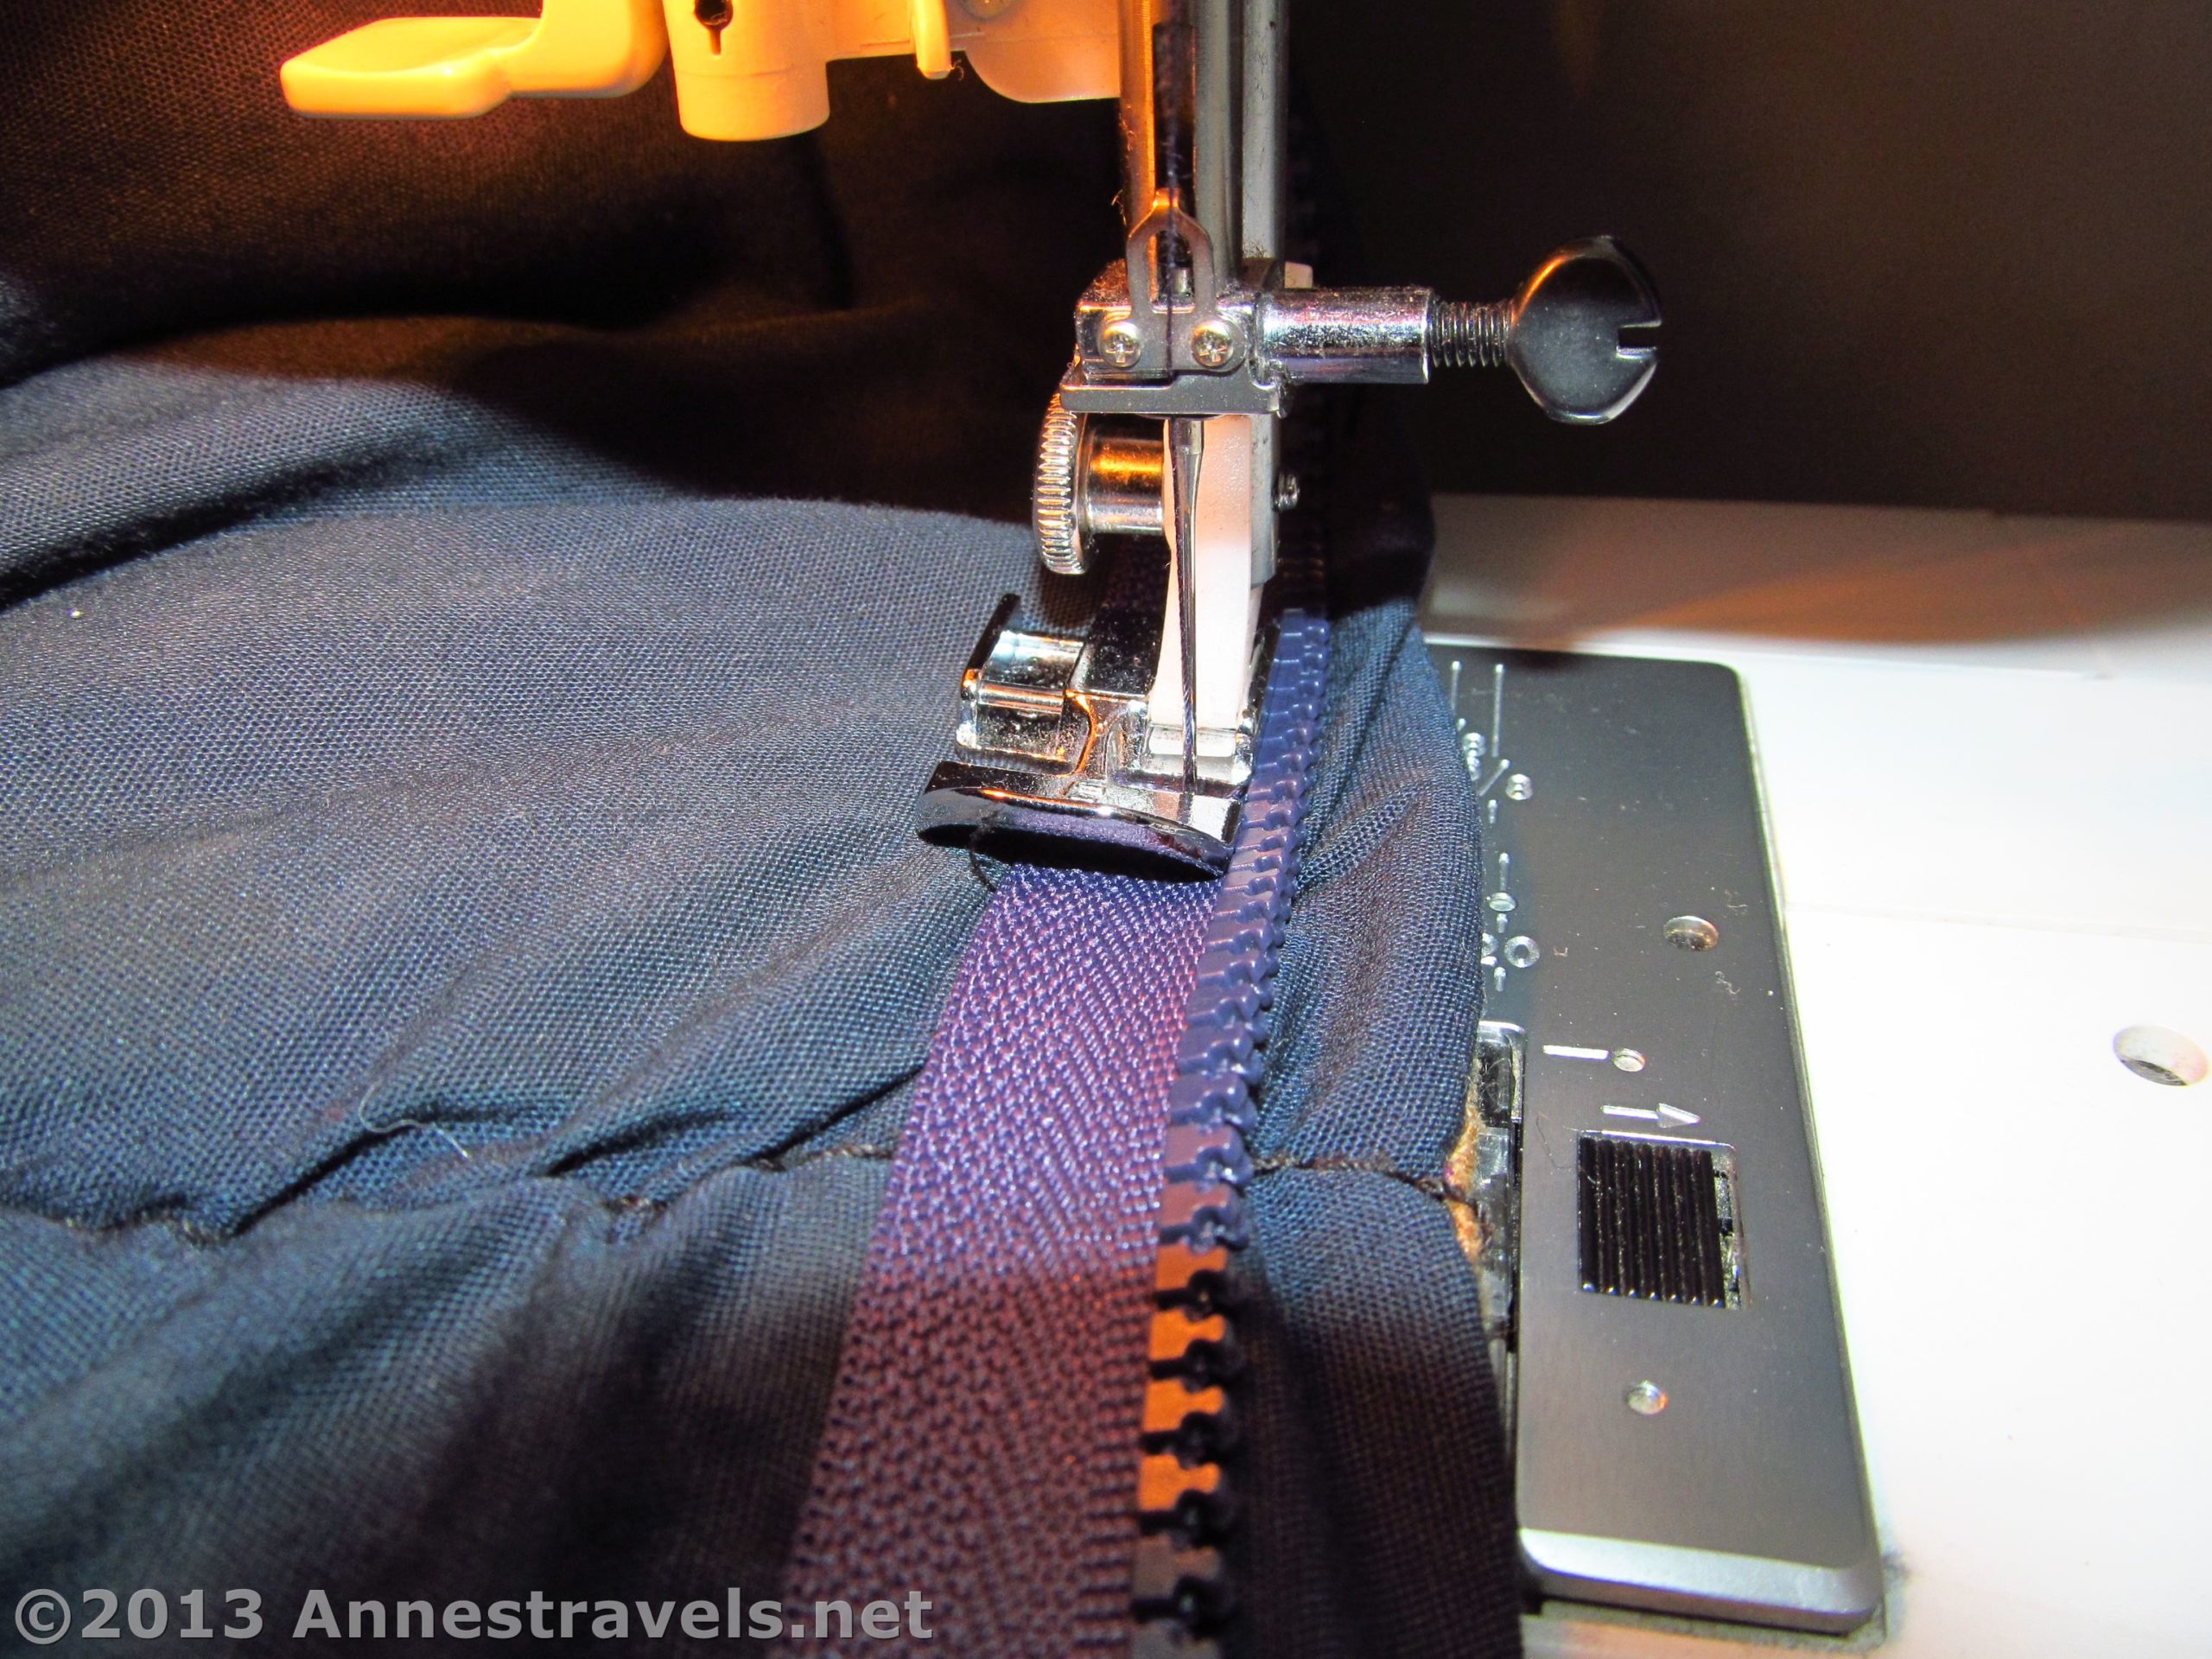
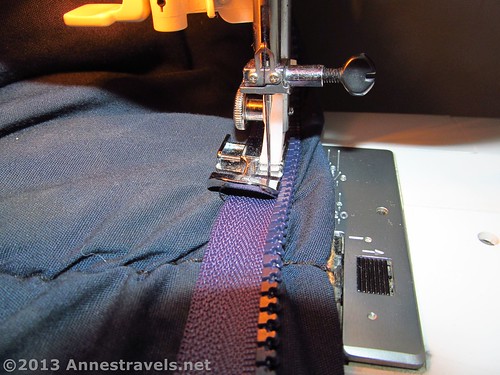
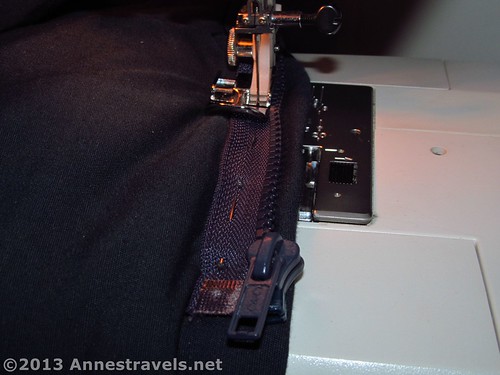
Step 4: Stich on the New Zipper
Put the zipper foot (if your machine has one) on the sewing machine, and thread the machine with cotton sewing thread that matches the zipper. Then, following the instructions included in the sewing machine manual, stitch the zipper to the sleeping bag, removing the pins as you go. When you reach the end of the zipper (or the end of the sleeping bag, whichever comes first), reverse stich for a couple stiches, then go forward for a couple stitches, and cut the threads. Examine the stitching to make sure everything is ok (you haven’t caught any extra fabric in the stitching, for example), then repeat with the other side of the zipper. Note: if there are straps at the bottom of the sleeping bag, make sure these are pinned in place and will be stitched along with the zipper.
When both sides have been sewn, zip up the zipper and make sure everything looks good before moving on to the next step.
Step 5: Finishing Touches
Chances are that there will either be excess zipper or a space without a zipper left in the sleeping bag (if you used a yard- or meter-long zipper, quite a bit of the side and the bottom of the sleeping bag will have no closure at all!). Let’s talk about fixing the excess zipper problem first, then too little zipper.
Fixing Excess Zipper
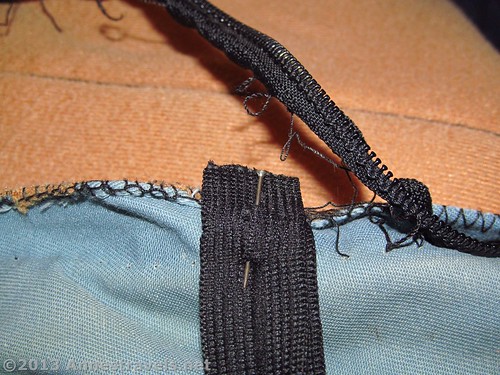
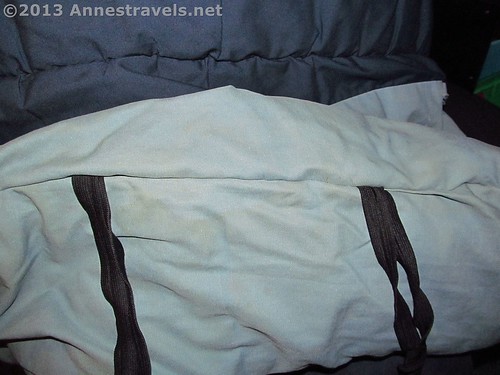
If there is zipper sticking off the bottom of the sleeping bag, pin the excess zipper flat along the next side of the sleeping bag. For example, I once installed a 100-in. (2.5 m) sleeping bag zipper into a mummy bag whose zipper only went down the left side. This left me with quite a bit of excess zipper. Since the zipper area ended at the bottom of the left side, I pinned the excess zipper along the bottom edge and then up the right edge as though the zipper actually went this far. For most other sleeping bags, you would be pinning zipper up the right side (if the zipper goes down the left side and then across the bottom).
Stich each side of the zipper as you would if you were installing it (teeth out) or zip the zipper before stitching (if the teeth will be facing in). It may look a little odd, so you could pin it to the inside if you prefer…but a cold zipper on my feet doesn’t sound like much fun, so I’ll forgo the cosmetic appearance. 🙂
Fixing too little zipper
In the vast majority of sleeping bags I’ve fixed, there isn’t enough zipper to reach the end. This can range from a small hole at the bottom of the bag to the zipper reaching only about halfway down the side of the sleeping bag. Both of these are fixable.
Zip up the new zipper, then turn the sleeping bag inside out. Starting where the zipper ends, pin the two sides of the sleeping bag together along the old stitching lines (where the old zipper was installed). The bottom corners should also match up; if they don’t, the new zipper may not have been installed quite straight. You can either rip out one side of the zipper and restitch it, or you can just wiggle the fabric around and try to make it look good (which is what I would do as long as it’s not excessively off). Keep pinning all the way around the bottom of the sleeping bag (including straps, if there are any) to the end of the sleeping bag opening. Stitch along the old stitching line. Note: I’ve found that the corner is typically the hardest part to stitch because the fabric is the thickest here – you may have to hand-stitch this section if your sewing machine can’t handle the thickness.
Turn the sleeping bag right side out and check the seams to make sure they’re ok.
Then, go camping and enjoy your fixed sleeping bag!
Any questions about how to replace the zipper in a sleeping bag? Ask them below! (Note: leaving the url box blank will help ensure a quick answer to your question…a url in the box may mean I won’t see the comment for quite a while. Thanks!)
This Week’s Featured Product
This book will lead you through all kinds of maintenance and fixes for hiking gear. Buy your copy here (affiliate link; there is no extra cost to you).


6 responses to “How to Replace the Zipper in a Sleeping Bag”
Thanks for this post; it is very helpful!
So glad you like it!
Anne
The problem is .. WHERE do you find a 112″ 2-way seperating sleeping bag zipper?
All the companies who advertize these inform me over the phone when I order them, they they do not stock what they advertize!
Good question! I usually just use a shorter zipper; the one time I used an actual sleeping bag zipper, I got it at Joanne’s, but I wasn’t two-way. I did find a couple links (that claim they’re in stock – maybe you’ve already seen them) for two-way tent zippers that might work – http://www.zippershipper.com/10-molded-plastic-two-way-extra-long-heavy-duty-separating-tent-sleeping-bag-zipper and http://www.zippershipper.com/5-extra-long-molded-plastic-two-way-separating-zipper. Hope that helps!
I have tried zippershipper. They advertise them but do not actually carry them.
I am willing to get a smaller one and use a Velcro strap for the neck but, the problem remains, finding a sleeping bag zipper long enough to work.
I have two matching bags so will have to buy two zippers and replace both so that they can still match.
Hi Richard,
You could try Amazon.com – the Coats Thread and Zippers 100-Inch Plastic Sleeping Bag Separating Zipper, Black should work. I’ve used this brand/product before (I got it at Joanne Fabrics many years ago) and it’s still going strong. Hope that helps!