
Have you ever wanted to make your sleeping bag warmer? Or have you wanted to make your sleeping bag softer? One of my group members wanted both. He had a very nice Coleman sleeping bag, but it wasn’t warm enough for his kind of camping, and he’s never been crazy about the non-flannel lined sleeping bags. So I made him a sleeping bag liner. It is permanent (unless you want to take out all the stitching), but if done with care and patience (lots of patience!) it’s not too hard or expensive. If you have the materials on hand, your cost is $0. I purchased the blanket, so my total cost was just over $5.
To make a sleeping bag liner, you’ll need:
Your sleeping bag
A blanket – it needs to be at least as big as your sleeping bag is when the sleeping bag is totally unzippered. This sleeping bag was almost exactly the size of a twin blanket, so I picked up one at Walmart for $5. You could just as easily upcycle an old blanket from a thrift shop or from around the house. If you want an extremely cozy liner, use a fuzzy blanket like this one.
Pins, thread (color coordinate to the sleeping bag, or the bobbin thread can coordinate to the blanket), hand sewing needle, sewing machine (optional – a quilting machine would make this easier!), scissors
A very large working space – like an open floor
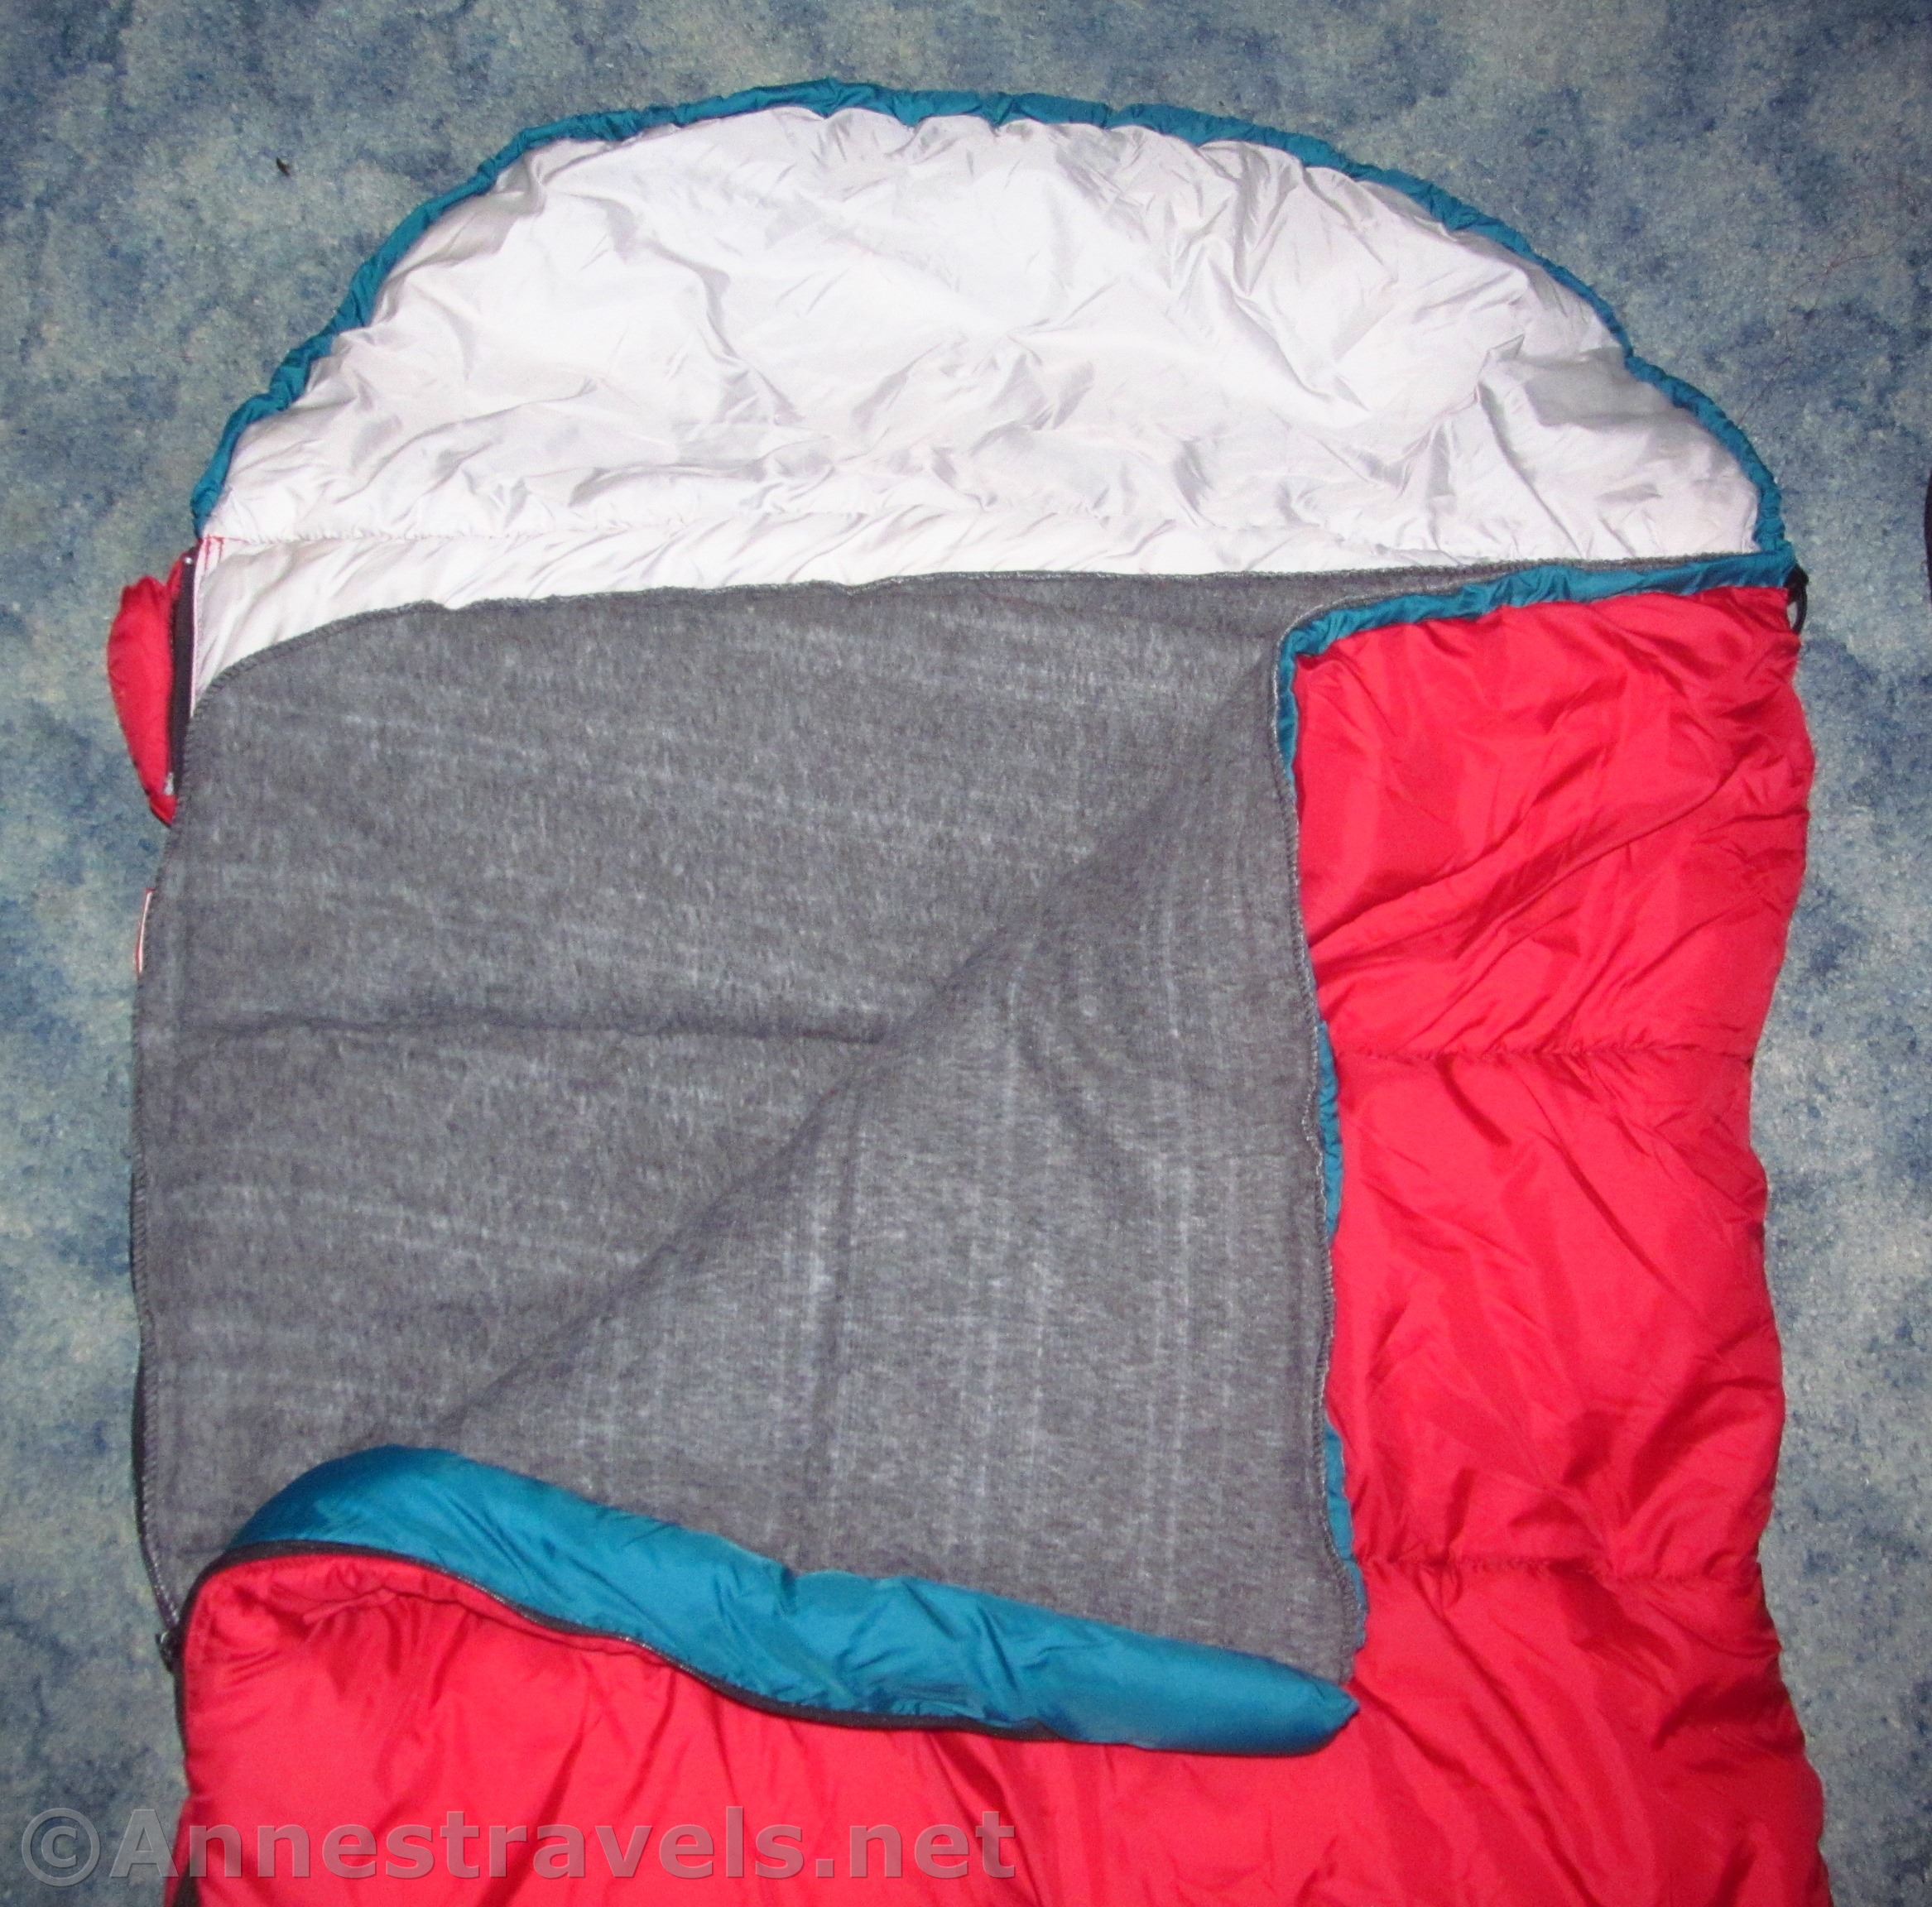
First, open up the sleeping bag and lay it on the floor so the inside is facing up. Place the blanket (the side you want against you up) on top of the sleeping bag. For now, just line up the bottom corner of the blanket and the bottom corner of the sleeping bag and pin it in place.

Pin the blanket along the bottom of the sleeping bag. Stitch in place – you can do this with hand-sewing if needed, but using a sewing machine is more durable. I recommend stitching from the sleeping bag side so you can see what the seam will look like on the side you’ll actually see.
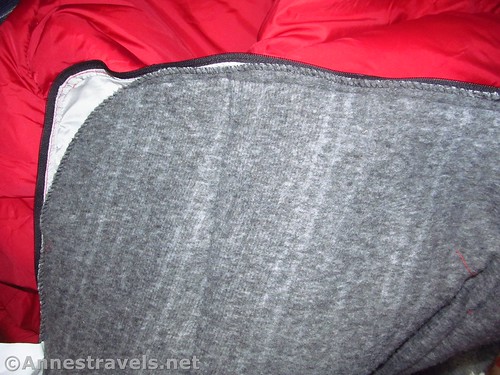
Most sleeping bags have lines of stitching to keep the stuffing in place (similar to making a quilt). Hand baste the blanket to the sleeping bag along the line of stitching closest to the bottom of the sleeping bag. Stitch along the line of stitching (on the outside of the sleeping bag so you can go exactly along the line of stitching). Be sure to line up the edge of the blanket with the edge of the sleeping bag.
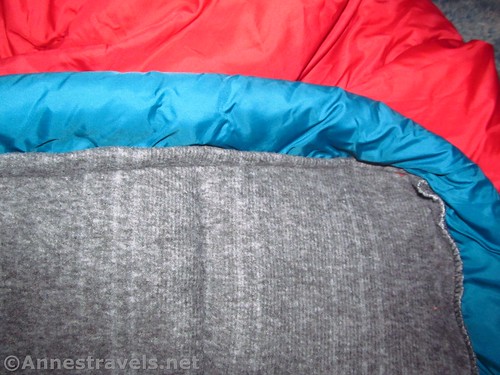
Note: If your blanket is wider than the sleeping bag (mine was), stop stitching about ½ 1 inch before the edge of the sleeping bag. This will give you room to finish the edge of the blanket so it doesn’t fray.
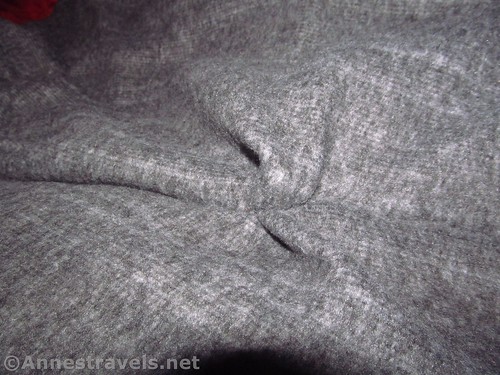
Repeat with the remaining lines of stitching on the sleeping bag. Be careful not to pucker up the blanket – like the photo below – or catch part of the blanket you don’t want to catch. This is not easy on a regular sewing machine. If you have a machine made for quilting, that would make it easier. But since I only have a hefty regular machine, we did it with that. Remove the hand-basting stitches.
Once you’ve stitched along each of the lines of stitching, you’ll need to cut off the excess blanket at the top of the sleeping bag – leave yourself about 0.5 inches extra when you cut. Turn under the 0.5 extra inches (so it doesn’t fray) and stitch along the top of the bag. (My blanket was just about perfect height, so I could just stitch it along the top of the sleeping bag.)

Now you can move onto the sides of the sleeping bag. Do the side you don’t have to cut first. Stitch along the side of the sleeping bag, near the zipper, catching the blanket underneath.

On the other side, cut the blanket about 0.5 inches beyond the edge of the sleeping bag, turn it under (pinning in place), and stitch, being sure to catch the blanket as well as the sleeping bag.
And you’ve got a nice, warm, soft sleeping bag liner!

This Week’s Featured Product!
Feel that a commercial sleeping bag liner would be easier? Try this one from Amazon.