
Have you ever felt that your landscape photography just isn’t up to snuff with the pictures you see on blogs, social media, and while browsing the internet? You’re not alone! In fact, most of us (myself included!) could use to learn a bit more about taking truly great pictures of the places we visit while hiking and auto-touring. So today, I’d like to give you a few tips on how to upgrade your landscape photos from good to great – whether you have a cell phone camera or a DSLR.
One quick thing before we begin: The more I deal with photographs and photography, the more I learn that you don’t need an expensive camera to get good pictures. Read that again: You don’t need an expensive camera to get good photos. You just need an adequate camera and tools and tricks to make those photos shine. It’s true that the photographer makes the picture, not the camera!
So here’s the good news: These tips will (generally) work with phone cameras, point-and-shoot models, or expensive DSLRs. Use what you have and don’t worry about what you don’t have yet!
10 Tips to Upgrade Your Landscape Photography with Any Camera
1. Focus on a single subject. This is very difficult in landscape photography because we’re usually trying to include the river, the mountains, and the meadows in a single picture (for example). And that’s fine. But if you can set up your photo so that the viewer’s eyes rest on a single part of the picture – let’s say the majestic mountain peaks – it will be a more compelling picture. Which brings us to the next tip…

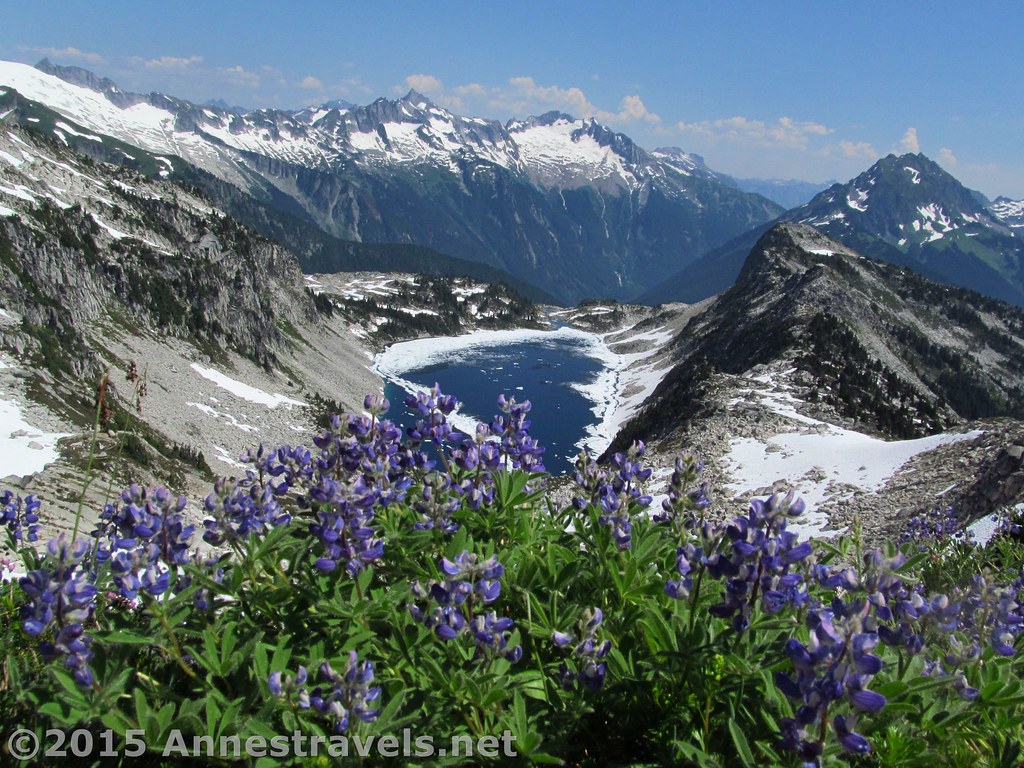
2. Everything in the photo should help to support your single subject. Ok, so the mountains are the focal point. But showing only the mountains makes for a fairly boring picture (more on that in a minute). If we include, for example, a mountain stream that leads the viewer’s eyes up to the mountains, or meadows that contrast but don’t distract from the mountains, these supporting elements will help to make your photo epic. Conversely, if we allow a random hiker or a brightly-colored flag in the picture, it may distract from your subject.

3. Use the Rule of Thirds. My eyes glaze over when people tell me to use the Rule of Thirds, simply because it’s talked about so often in photography. But it’s also a mainstay of a compelling photo. If you’re not familiar with the term, the basic idea is that if you superimposed a grid of lines on the horizontal and vertical 1/3 lines from the top and bottom and both sides of a picture, your main photographic elements should be on those lines. More on the Rule of Thirds in a moment.

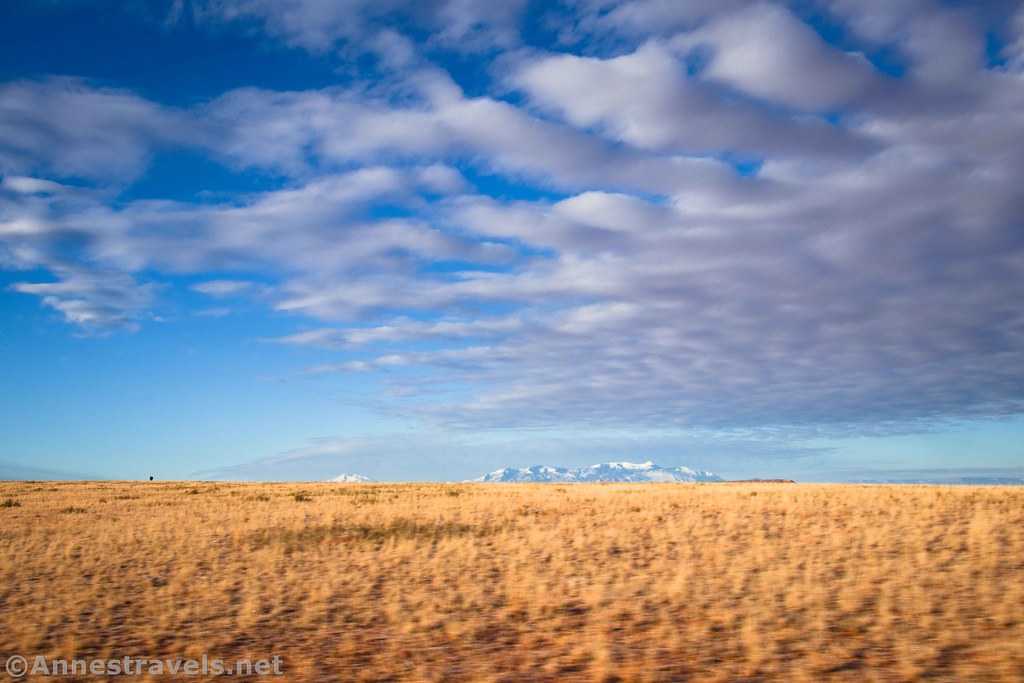
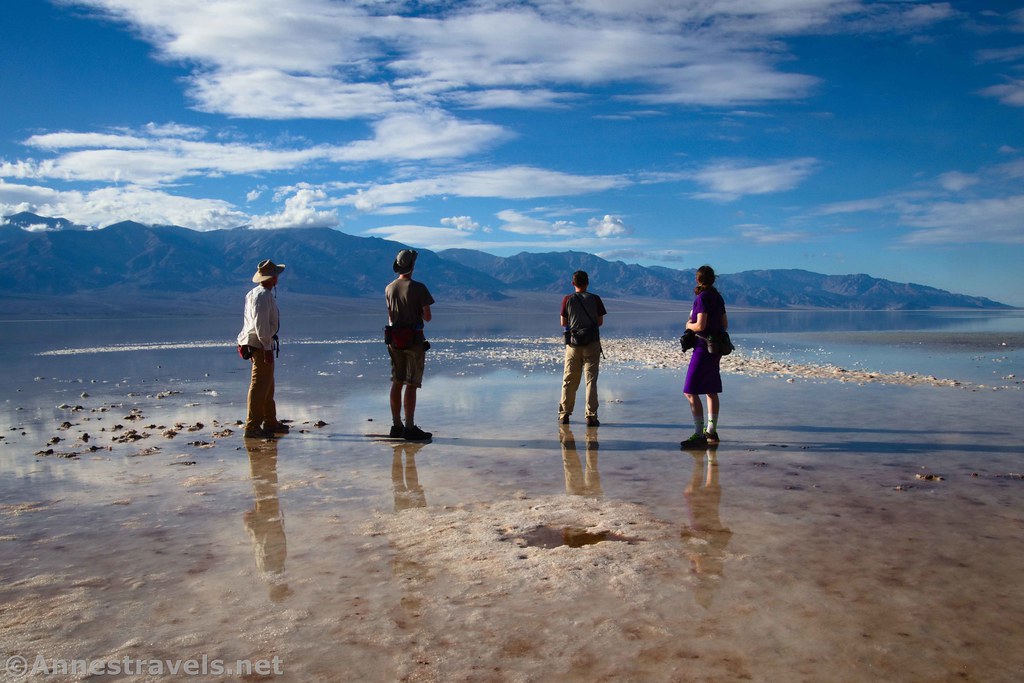
4. Don’t center your horizon or your main subject. Place these on the 1/3 lines we talked about above. (The one caveat to this is reflection photos – centering the horizon for a nearly perfectly mirrored top and bottom half of the photo is a great effect.)

5. Use layers. It’s tempting to stand on the edge of a canyon and take a photograph out into the abyss. And done right, it can be a great photo. But an easy composition technique is to “layer in” closer and more distant elements to give the photograph depth. For example, in the picture above, I used trees on the edge of the canyon (nearer objects), the canyon (middle distance), and clouds (further away) to give the image both depth and interest.
6. Minimize distractions. I can’t tell you how many times I’ve caught the elbow of one of my group members in the edge of pictures, but it’s far more often than I should. This is one type of distraction to avoid. Other distractions include deep shadows, bright colors or large areas of color, unrelated people, dust/dirt/scratches, and anything that distracts from your subject.

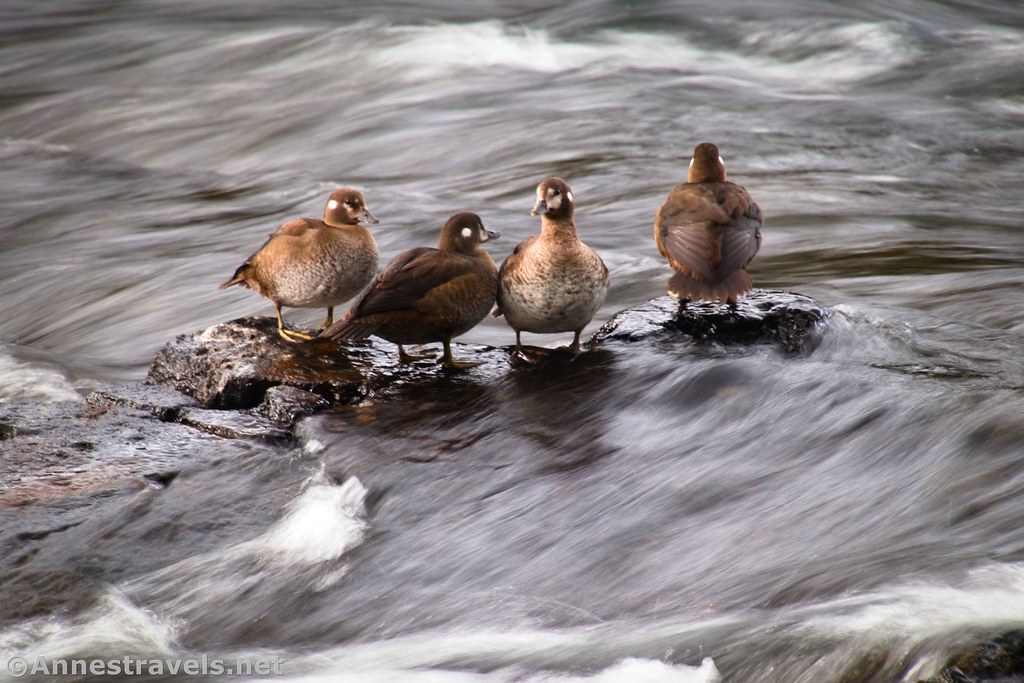
7. Utilize “Separation.” You want your subject to stand out. But if the background is too similar in color, texture, or interest to the subject, your subject will blend in rather than “pop.” A few ways to make sure your subject stands include: 1) moving so the object is against the sky or another less-interesting object; 2) blurring the background (typically done with aperture and depth of field… if you don’t understand, don’t worry about it); 3) composing the photo so there are color contrasts between your subject and the background; and 4) placing a darker background behind your subject (for example, a shadow).
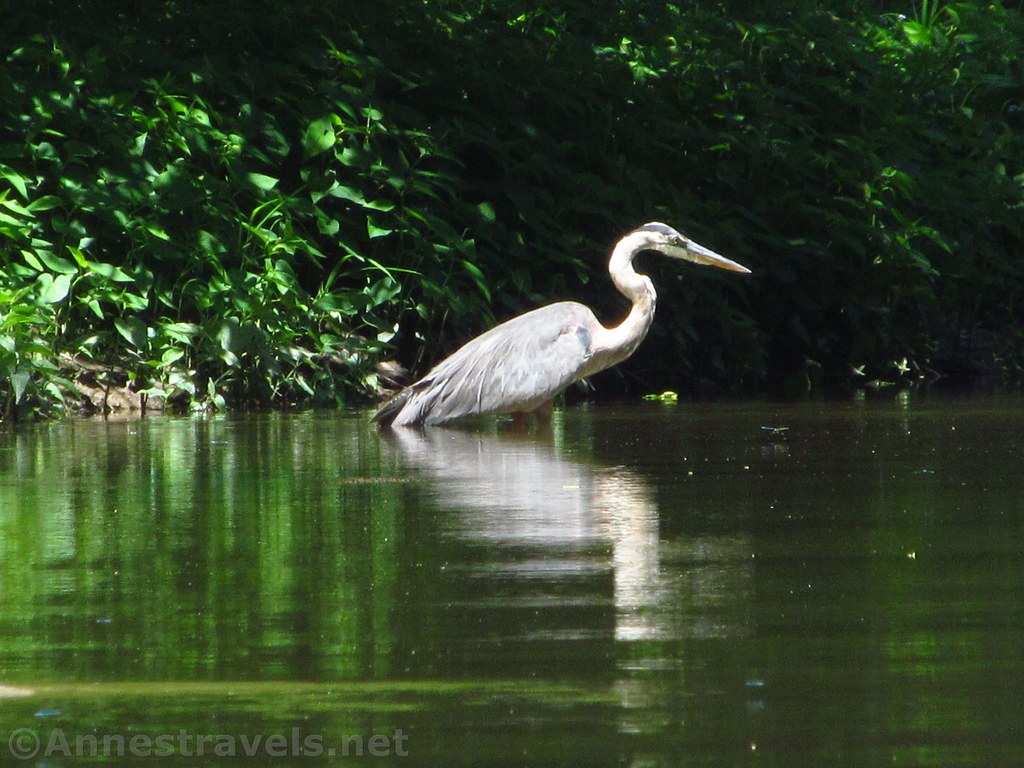
8. Notice the direction of the light. Shooting into the sun – unless you’re doing it intentionally – is almost always a bad idea. Objects will show up as silhouettes and everything else will likely be washed out. However, light from directly behind you (besides possibly casting your shadow into parts of your image) can create a flat, uninteresting picture. Try to shoot with the light behind you, yet slightly to the right or left.

9. Morning and evening have the best light. When the sun is high in the sky, it tends to be very bright. Not only does this create harsh shadows, but it also washes the colors out of the scenery. Early morning and late afternoon/evening tend to have better colors because the sun is at more of an angle. (Pro tip: In the winter, the sun stays at an angle longer into the morning and earlier in the afternoon. I’ve taken “sunrise” photos at 11am and “sunset” pictures at 3pm in November and December.)

10. Compose your photo on your camera’s screen rather than by looking all around you. Of course, you’ll want to look at the entire scene to see what you want to photograph and what elements will make the best picture. But at the end of the day, what you see on the screen is what will end up in the picture. Be sure the image on the screen is compelling rather than just a piece of the amazing things your eye sees all around you. It’s easy for you to fill in what isn’t on the screen because you saw it all, but others won’t be able to do that – they’ll only see what is on the screen and therefore in the picture. (This comes from many years of seeing a gorgeous scene, thinking “Oh, it’s lovely!” and taking pictures without any thought of just how much of that “lovely” scene I could get in a single picture. What is left out of the picture is just as important as what is put in the picture!)

Bonus! 11. Remember to have fun! These tips are meant to help upgrade your photography, but if they stress you out, don’t worry about them. Being in the wilderness is much more about having fun than it is about having the best image for Instagram or even your own enjoyment. Don’t lose the fun in the quest for the photo!
Today’s Featured Product!
If you’d like to read more about taking great landscape photographs, check out this book. It covers not only taking the photographs, but also how to edit them to make them truly shine. Buy your copy here.