
Last Christmas, I received a gift that would keep giving – Vasque Breeze LT hiking boots! But they gave me such terrible blisters that I couldn’t even wear them 3 miles in the local nature preserve. The internet came to my rescue, and by trying this method and that method, I finally developed a way to almost completely eliminate the heel slip that was causing the blisters. In fact, more than 200 miles later, I’m still happily wearing them on trails without a single issue with blisters!
Note: Some of the links in this post are affiliate links. If you click one and purchase something, I may earn a small commission without an extra cost to you.
Here’s a video of how to tie your hiking boots to eliminate heel slip and back-of-heel blisters. (Step-by-step instructions with pictures below).
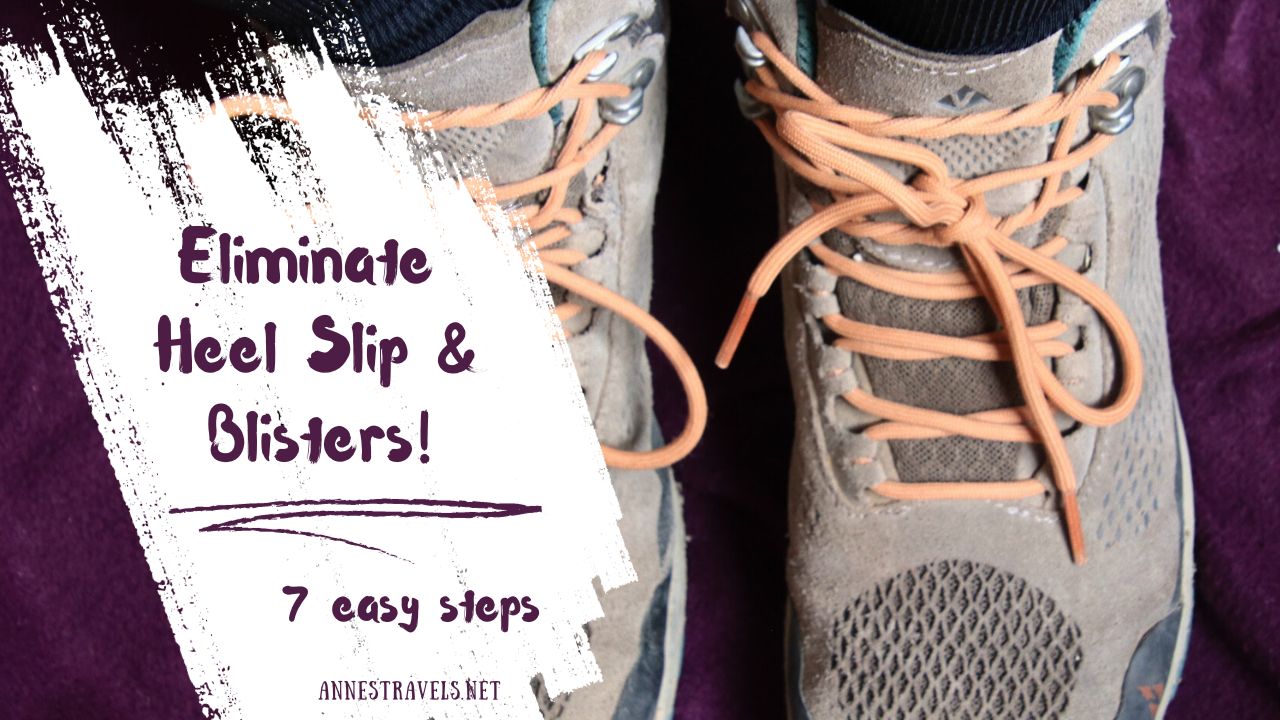
How to Tie Hiking Boots to Eliminate Heel Slip & Heel Blisters

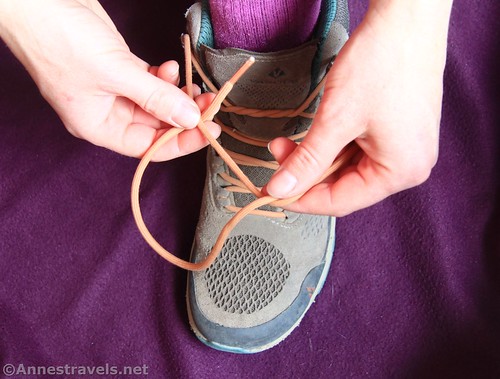
1. You’re trying to get the shoelaces tied tightly across your ankle – this will hold the foot (and therefore the heel) in place, eliminating the slipping that causes heel blisters. To begin, loop the shoelaces one over the other, then under and through, as though you were beginning to tie regular shoelaces (don’t pull it tight yet).

Before pulling it tight, loop the same lace over, under, and through again.
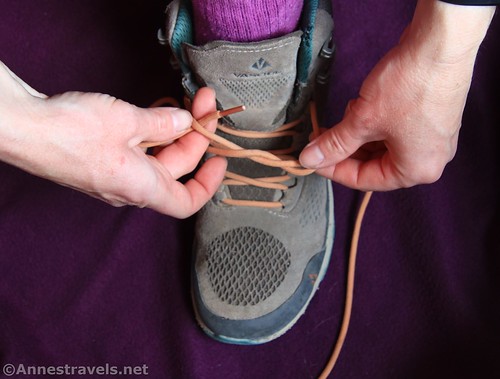
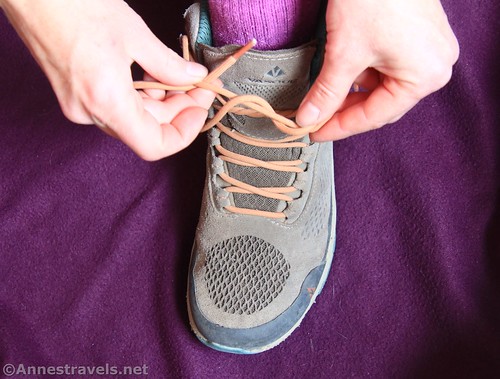
Pull it tight – you’ve now created a sturgeon knot. (While it should be pulled firmly, it’s really up to you how tightly you pull this knot – don’t cut off the circulation in the top of your foot.)

2. Hook the shoelaces around the TOP set of hooks (ignore the bottom set of hooks for now).
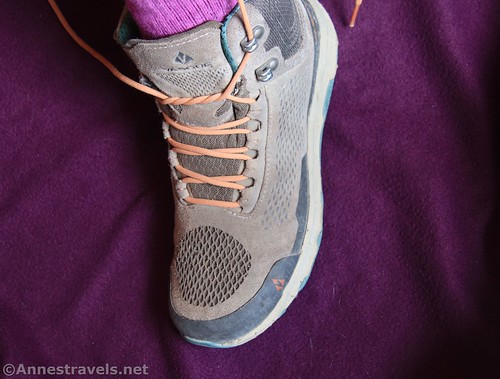
3. Tie another sturgeon knot.
Pull it tight. This doesn’t need to be super tight; whatever you’re comfortable with around your ankle (tighter will give you more ankle support, while looser will provide you with more freedom of movement).
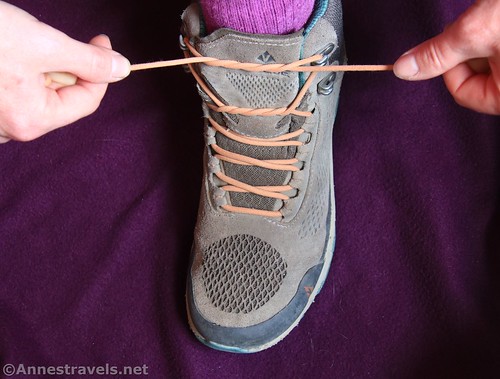
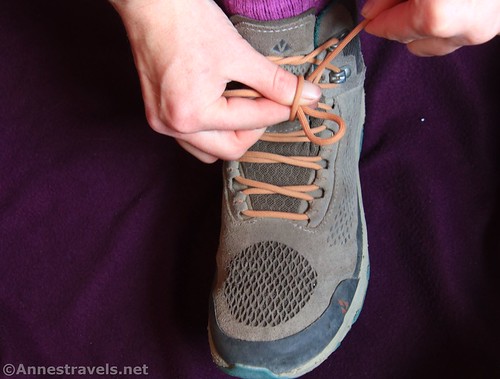
4. Now, hook the shoelaces around the BOTTOM set of hooks.

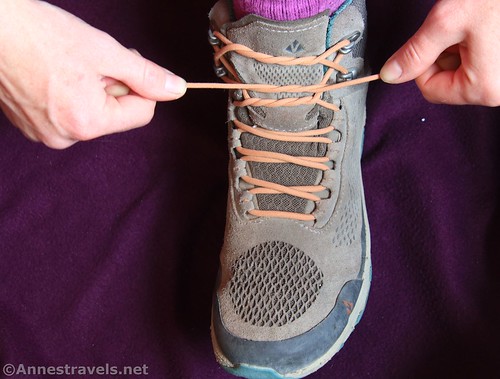
5. Loop the lace over, under, and through as though you were starting a sturgeon knot or beginning a bow. This time, only do this once.

Pull it tight – like, very tight! You don’t want to cut off the circulation or break the shoelaces, but you do want it as tight as possible. This will firmly hold the ankle in place, thereby eliminating heel slip.
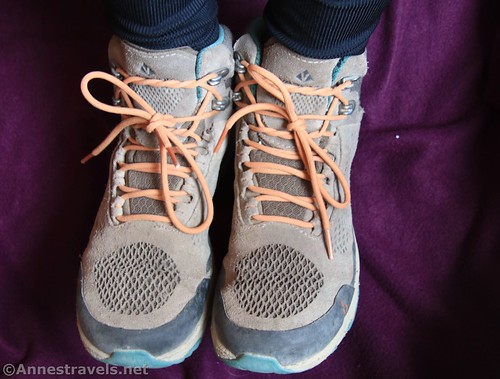
6. Finish off tying the bow. I like to wrap the shoelace around my finger and thumb twice (not shown here) before slipping the bow of the other lace through – this is almost as good as a double knot in keeping the shoelace from coming untied, but it’s ridiculously easier to untie than a double knot at the end of the day.
7. Repeat with the other shoe, and go take a hike!

While I’ve found this method to work quite well, I will put in a disclaimer that every hiking boot is made differently – so while I hope this helps (a lot!), you may have more or less success depending on your boot, your foot, and your specific issue.
Products used or mentioned in this post
Vasque Breeze LT Boots for Men or Women
Vasque Breeze Boots for Men or Women